In this guide
Street photography is probably where I notice the character of a Fujifilm recipe the fastest.
A landscape can sometimes carry a recipe simply because the location is already beautiful.
On the street, there is nowhere to hide.
You get mixed light, ugly backgrounds, deep shadows, bright signs, skin tones, concrete, glass, cars and people moving through the frame.
A recipe either helps bring all of that together or it makes the image feel even more chaotic.
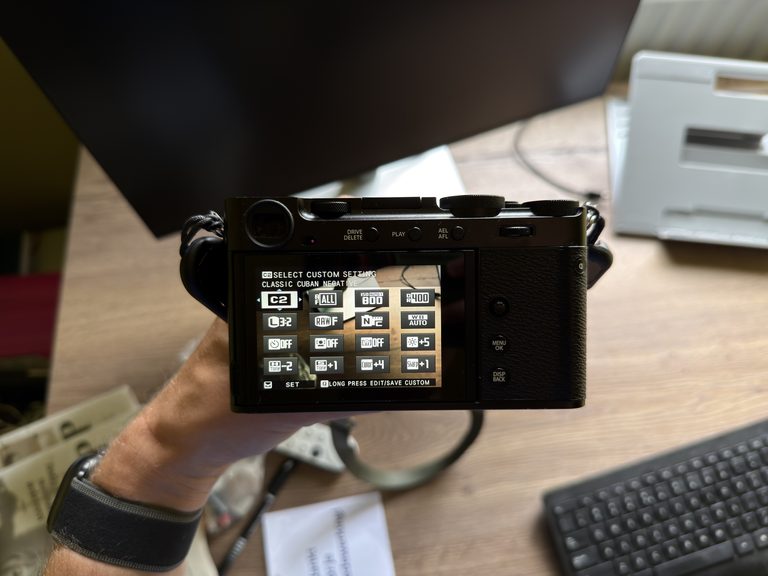
I currently keep several recipes saved on my Fujifilm X-E5, but for street photography I keep coming back to a smaller group.
Some are already familiar to me.
Others I am deliberately testing more because street photography is where I want to understand them better.
Quick answer: my Fujifilm recipes for street photography
These are the recipes I would currently choose from:
| Recipe | Best for | Look |
|---|---|---|
| Documentary Monochrome | Light, shadow and people | Black and white, documentary |
| Cuban Negative | Colorful streets and hard light | Stronger, stylized color |
| Cinematic Gold | Warm streets and late-afternoon light | Warm, nostalgic |
| Solaris | Experimental color street photography | Characterful, warm |
If I wanted to simplify things as much as possible, I would carry:
Documentary Monochrome for black and white
and
Cuban Negative or Cinematic Gold for color.
That already covers most situations I care about.
How I set up my X-E5: I normally shoot my Fujifilm X-E5 in Aperture Priority with AF-C, Wide/Tracking, Eye Detection and a saved custom recipe. I wrote down my full current setup separately. See my Fujifilm X-E5 settings
Why recipes matter more to me in street photography
Street photography moves quickly.
I do not want to take every image with the idea that I will figure out the look later in Lightroom.
I want the photograph to already feel close to finished when I take it.
That is one of the main reasons I enjoy using Fujifilm recipes.
Choosing the recipe before I start walking changes the way I look at the street.
If I use black and white, I start noticing:
- contrast
- shapes
- faces
- shadows
- reflections
- light
If I use a warm color recipe, I start looking for:
- red and yellow details
- sunlight on buildings
- old storefronts
- skin in warm light
- scenes that already have a nostalgic feel
The recipe becomes part of the way I photograph rather than something I add afterwards.
1. Documentary Monochrome — my current black-and-white street choice
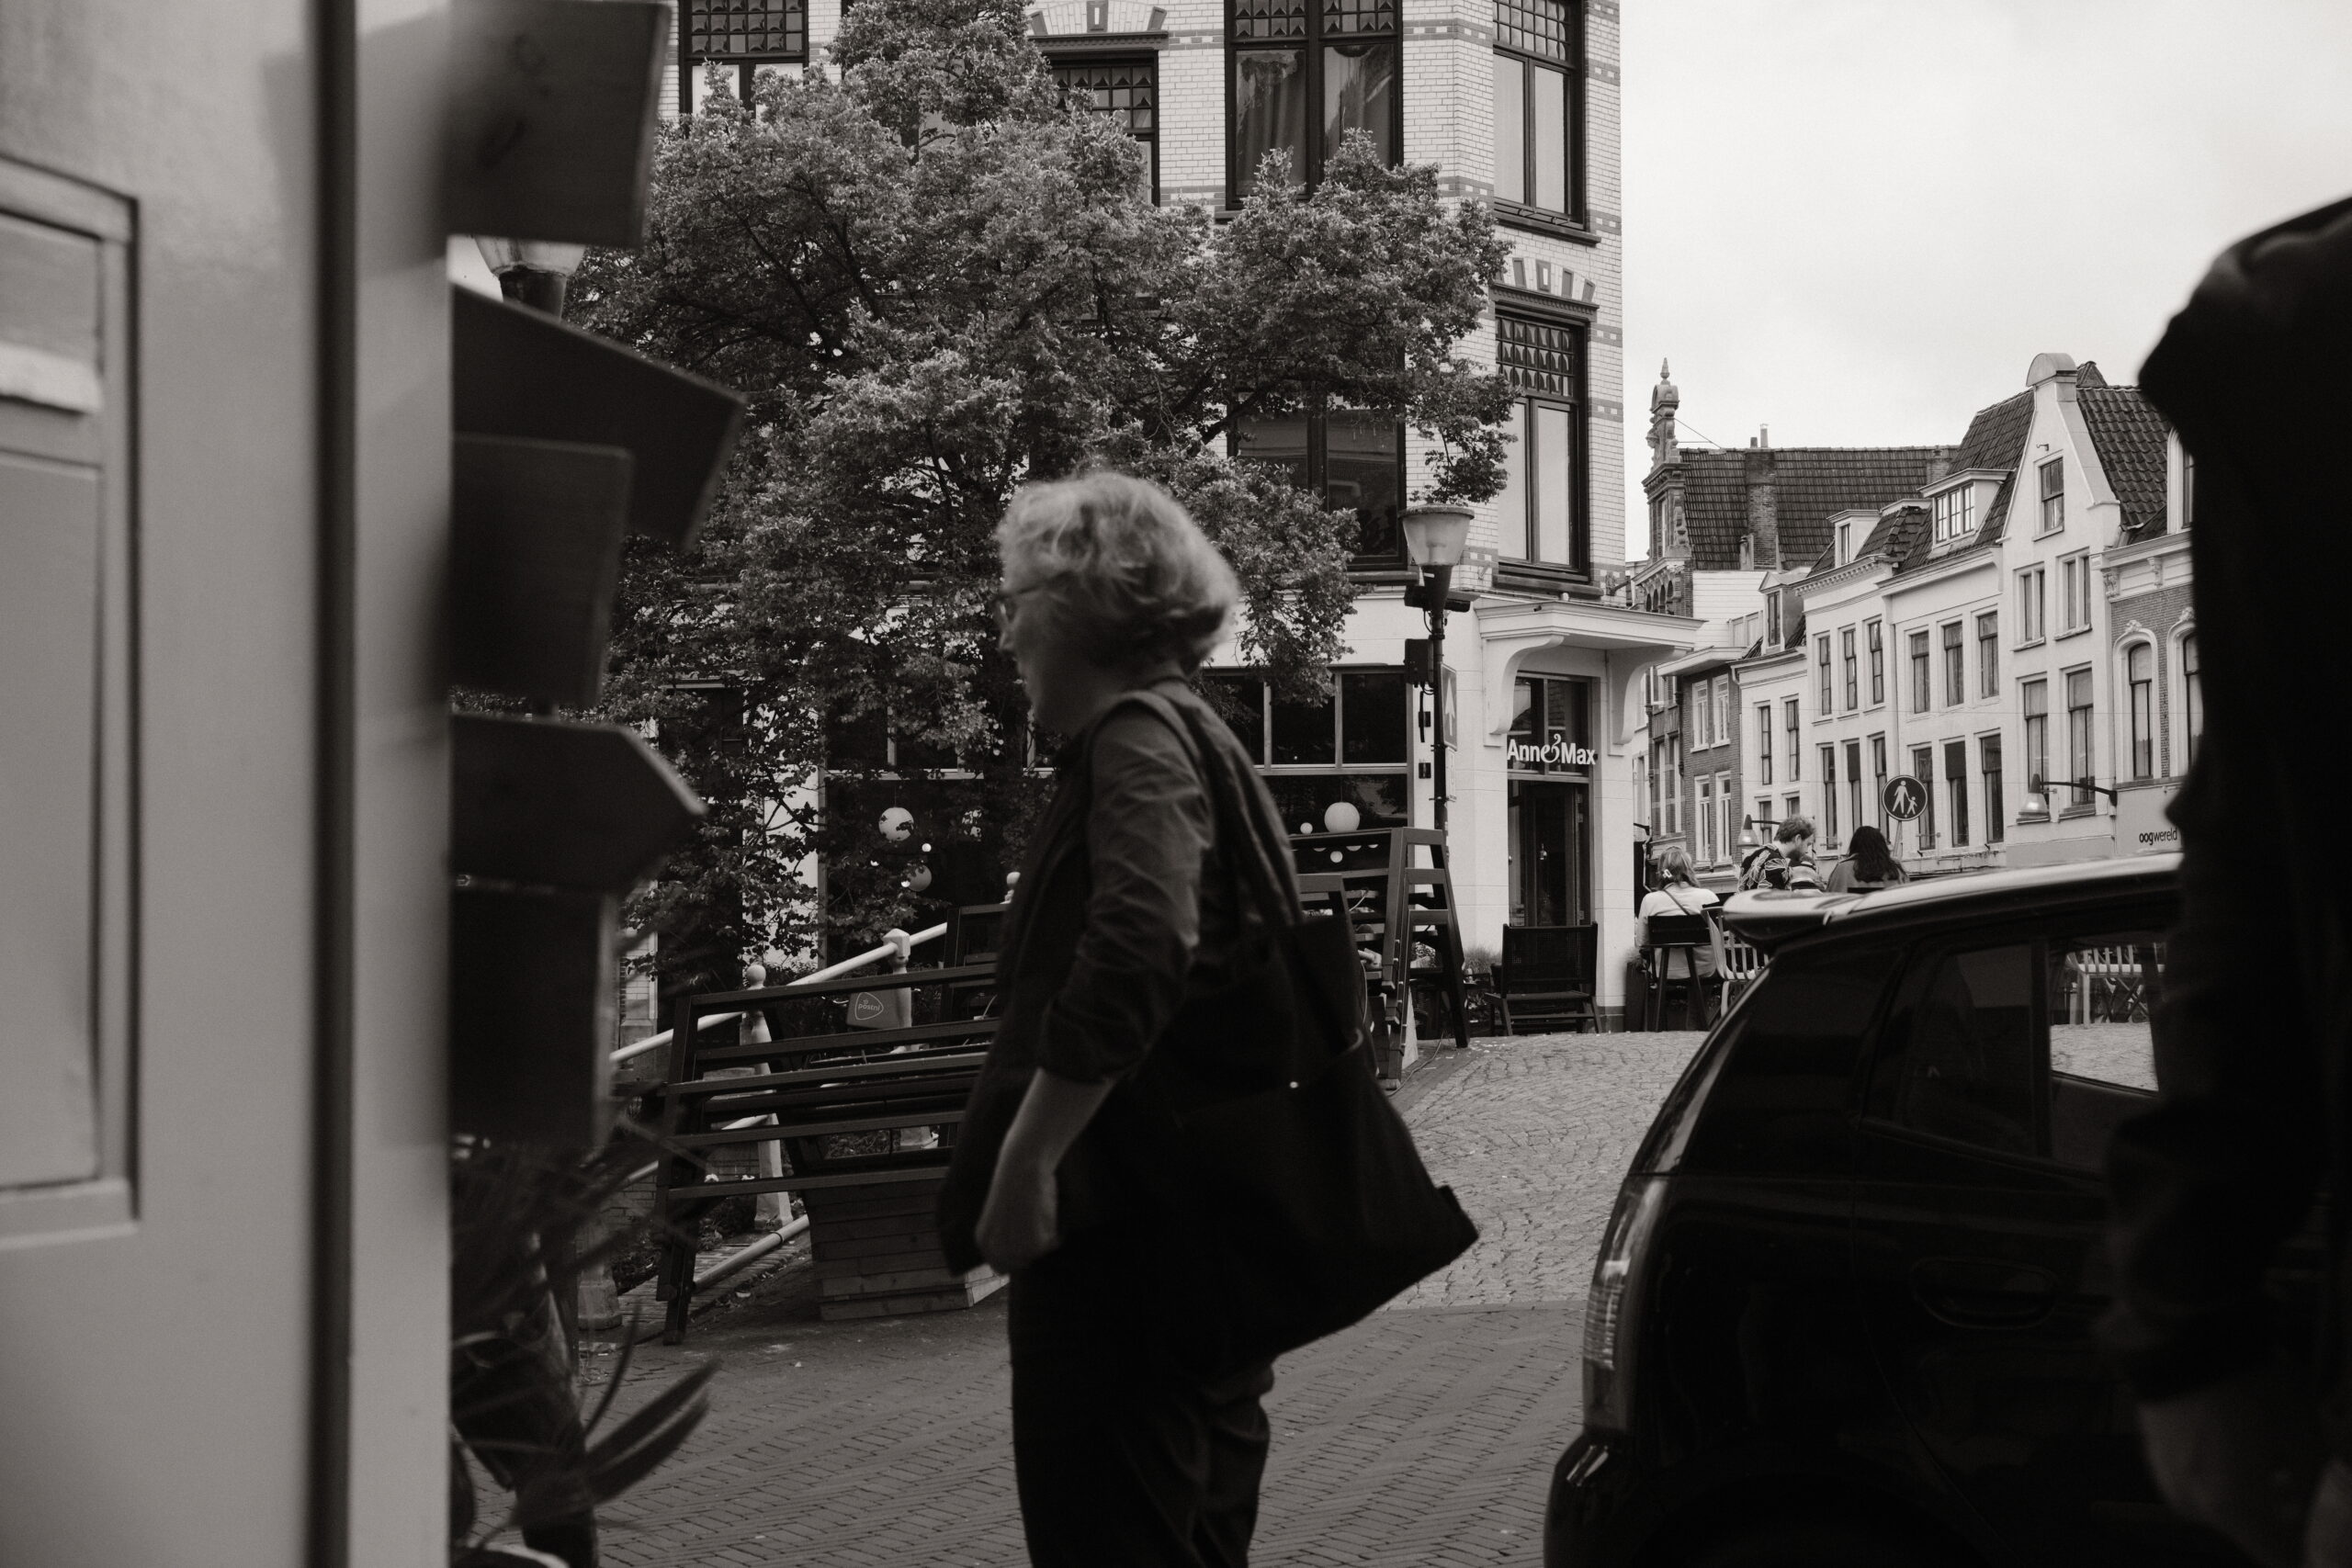
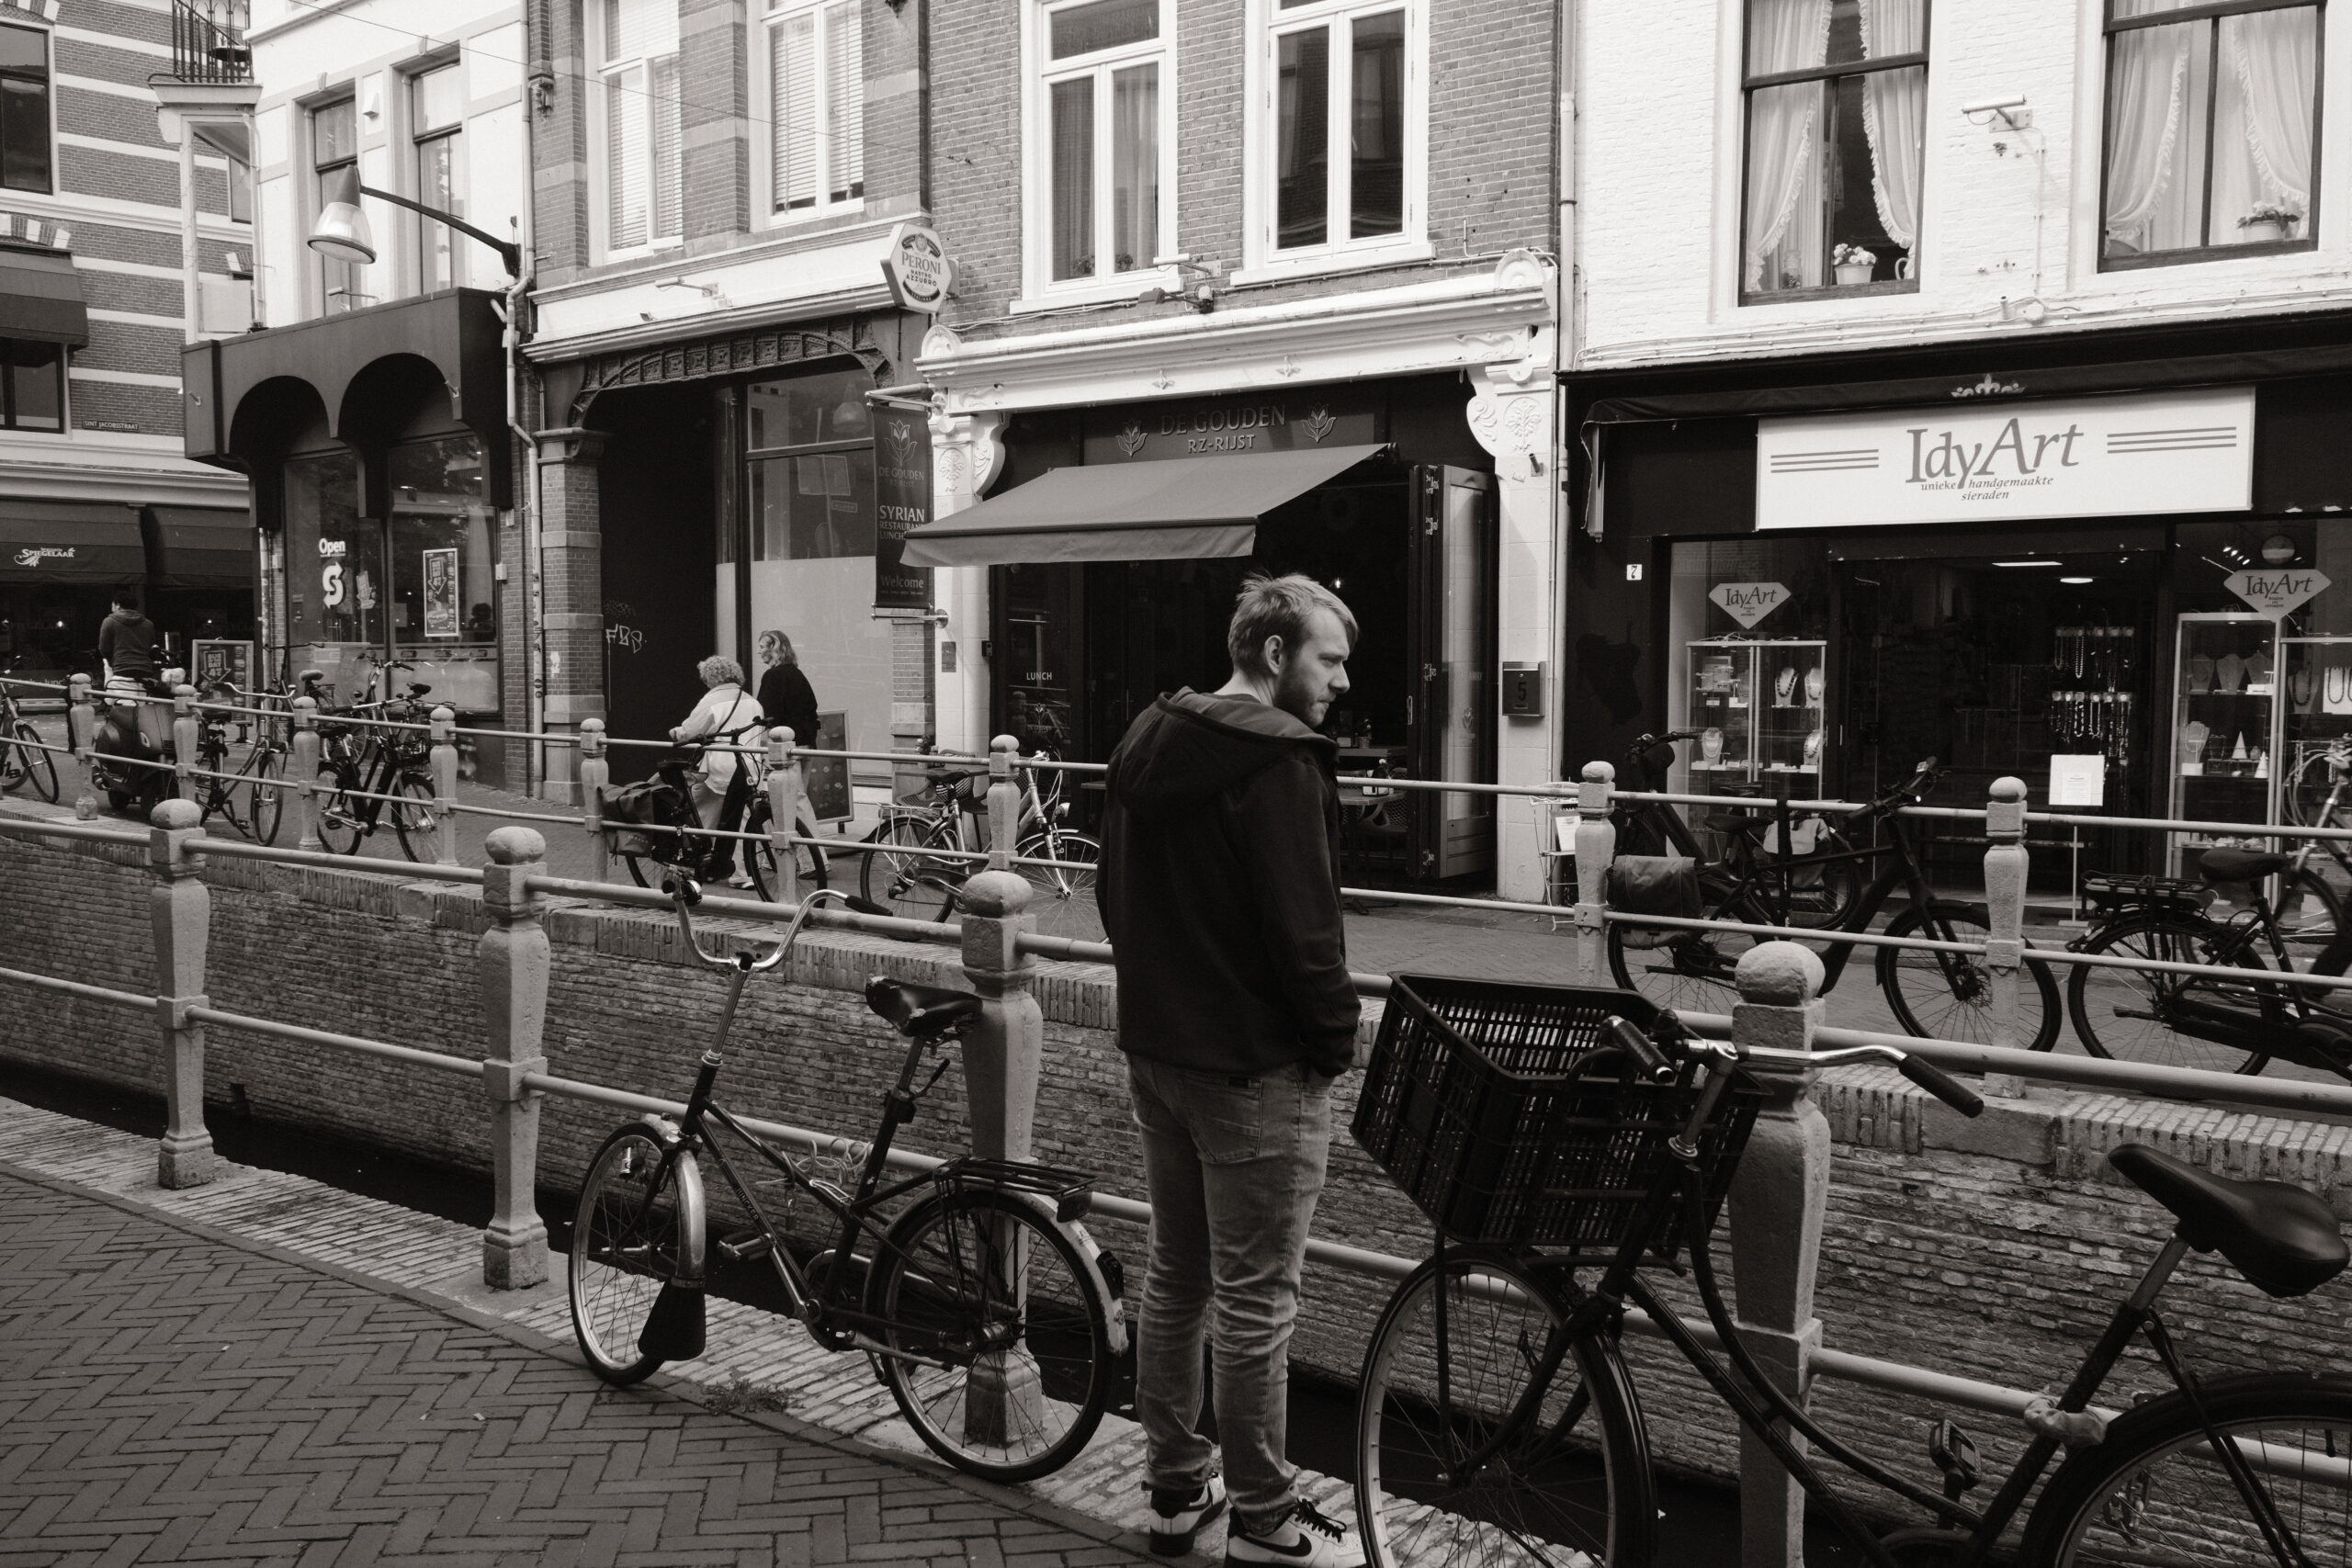
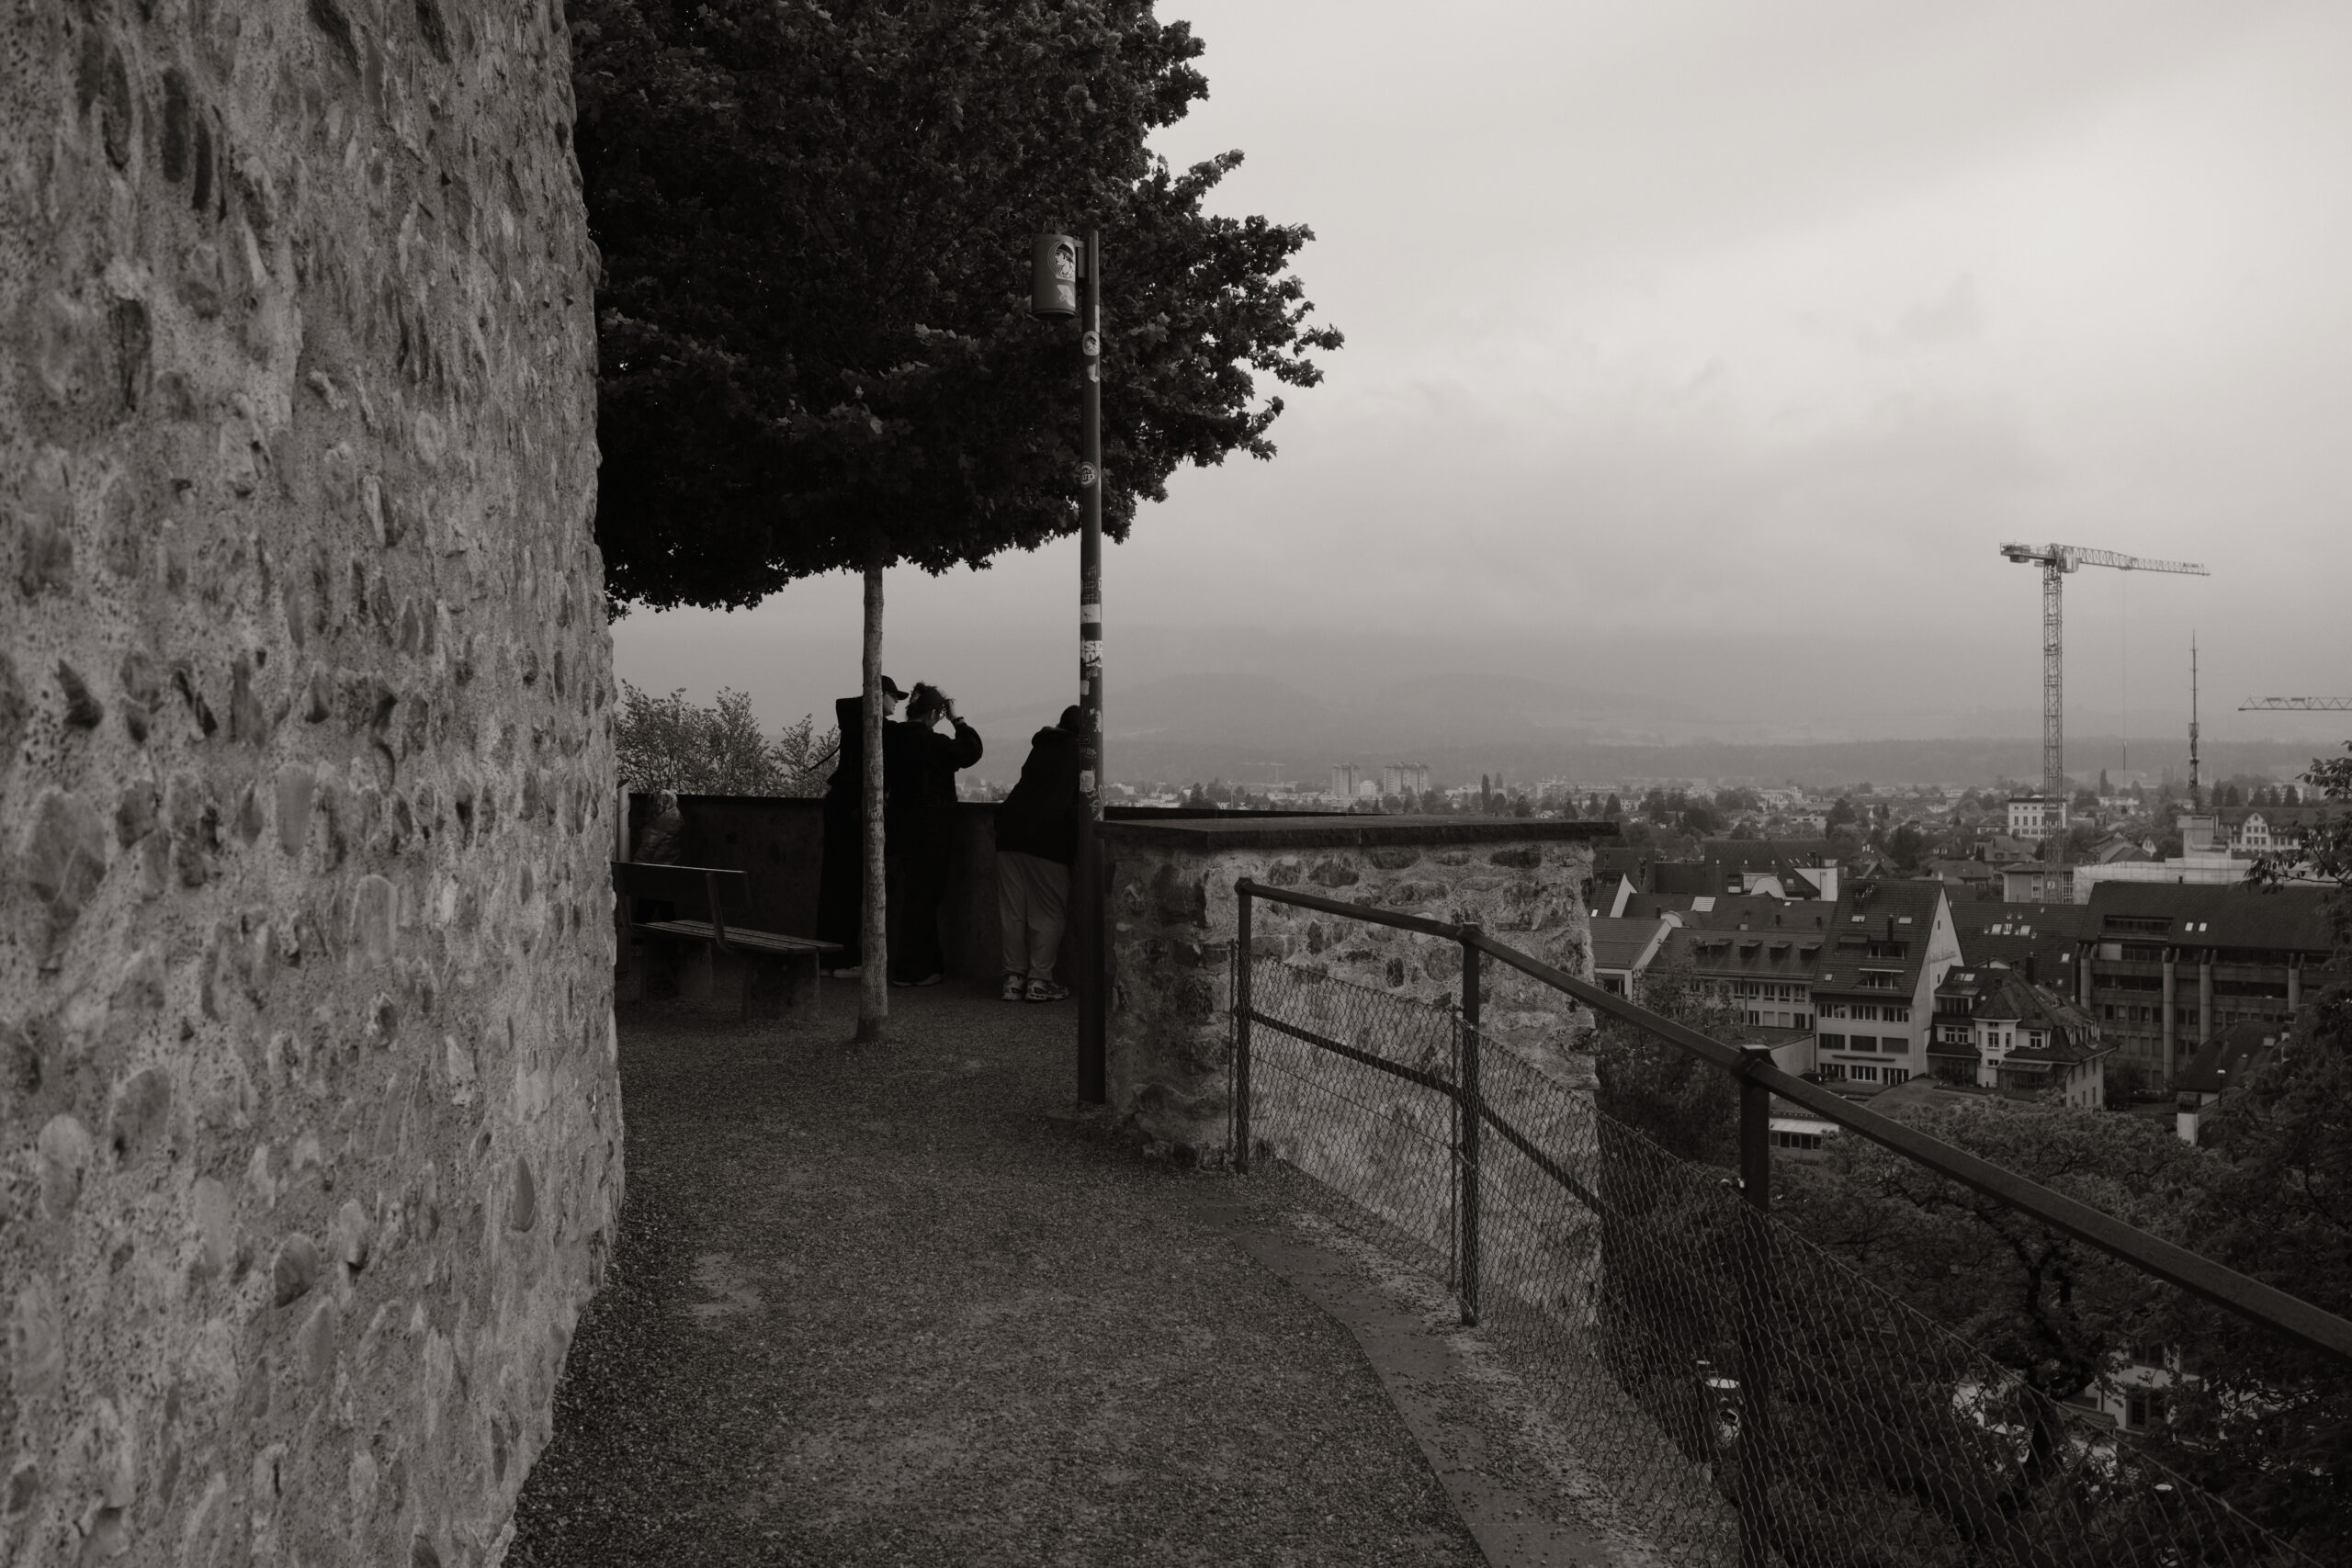
For black-and-white street photography, I am currently using Documentary Monochrome by Kevin Mullins.
This is not one of my own recipes.
You can find the original here:
Documentary Monochrome by Kevin Mullins
I like the idea of using monochrome when the color in a scene is not adding anything useful.
Street scenes can be messy.
There might be:
- bright advertising
- parked cars
- random clothing colors
- construction signs
- storefronts
- traffic
Sometimes all of that color becomes a distraction.
Black and white simplifies the frame.
Instead of thinking about whether the colors work together, I can concentrate on the relationship between the people, light and shapes.
When I would use Documentary Monochrome
I would choose it when:
- light and shadow are more interesting than color
- the street looks visually messy
- I am photographing people
- there are strong architectural shapes
- the weather is grey
- I want the image to feel more documentary
It is especially interesting in harder light because shadows become a much bigger part of the photograph.
What I am still testing
I am still spending more time with this recipe.
I want to see how consistently I like it across:
- bright sunlight
- flat cloudy days
- indoor stations
- evening streets
- portraits
- high-contrast scenes
One good black-and-white photograph is not enough for me to call a recipe a permanent favorite.
But this is currently the monochrome recipe I am most interested in keeping on the camera.
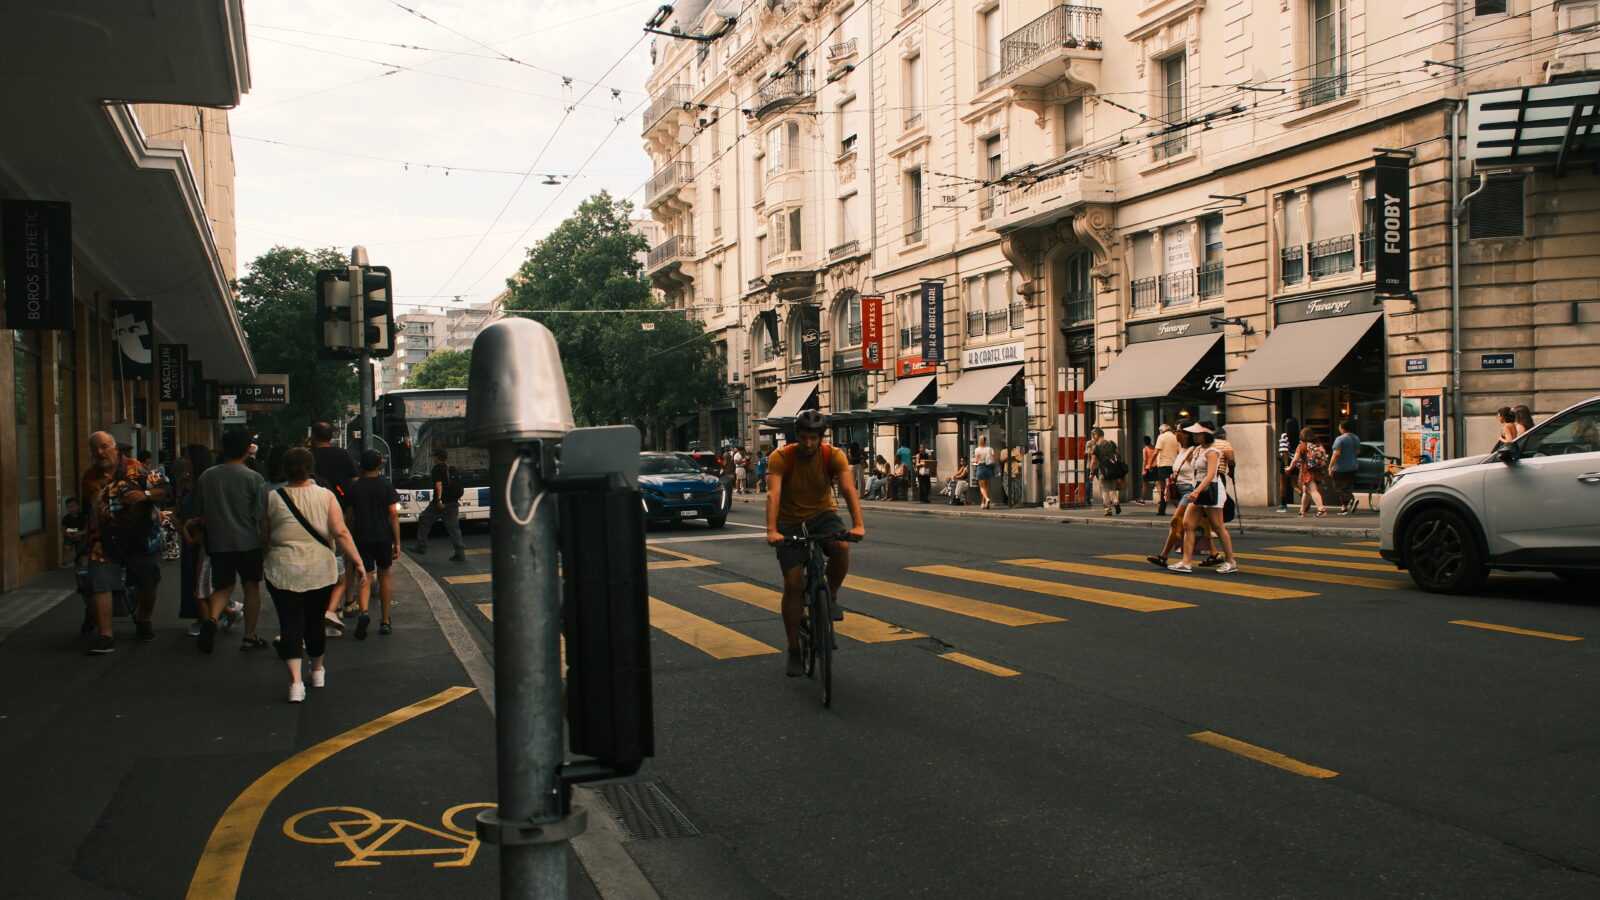
2. Cuban Negative — my more colorful street option
Cuban Negative is almost the opposite.
Where Documentary Monochrome removes color completely, Cuban Negative makes color much more important.
That makes it especially interesting for cities.
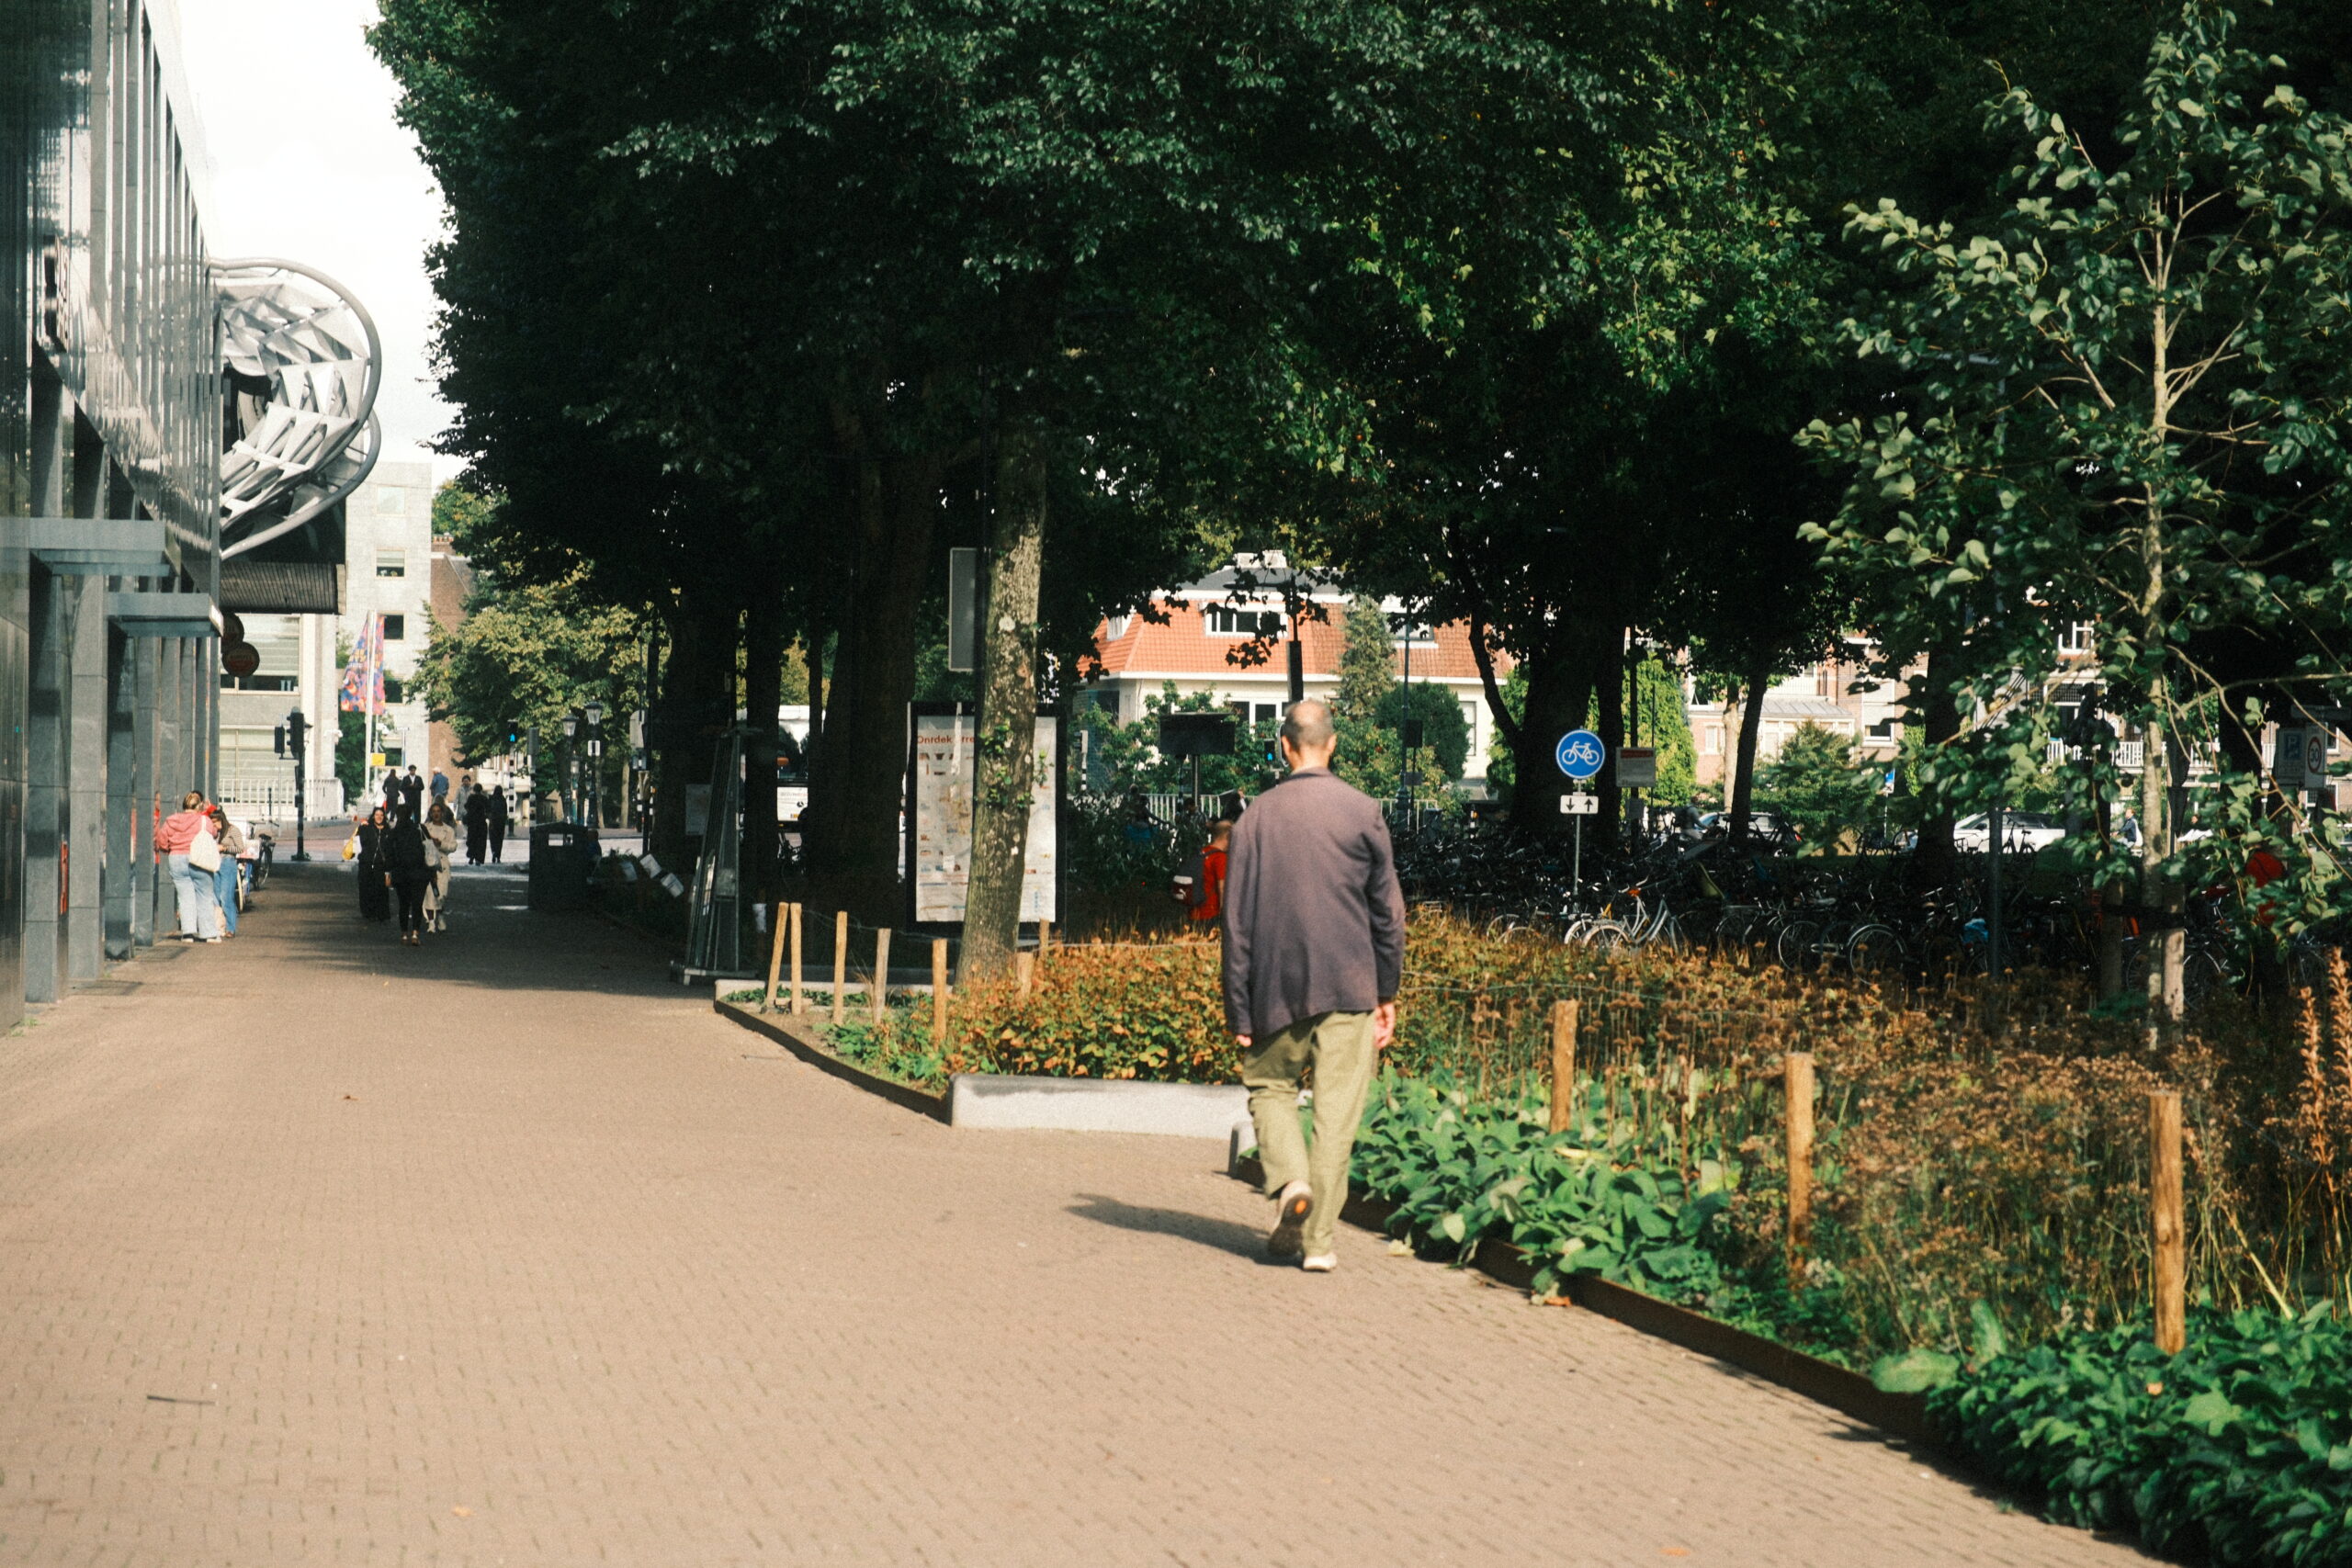
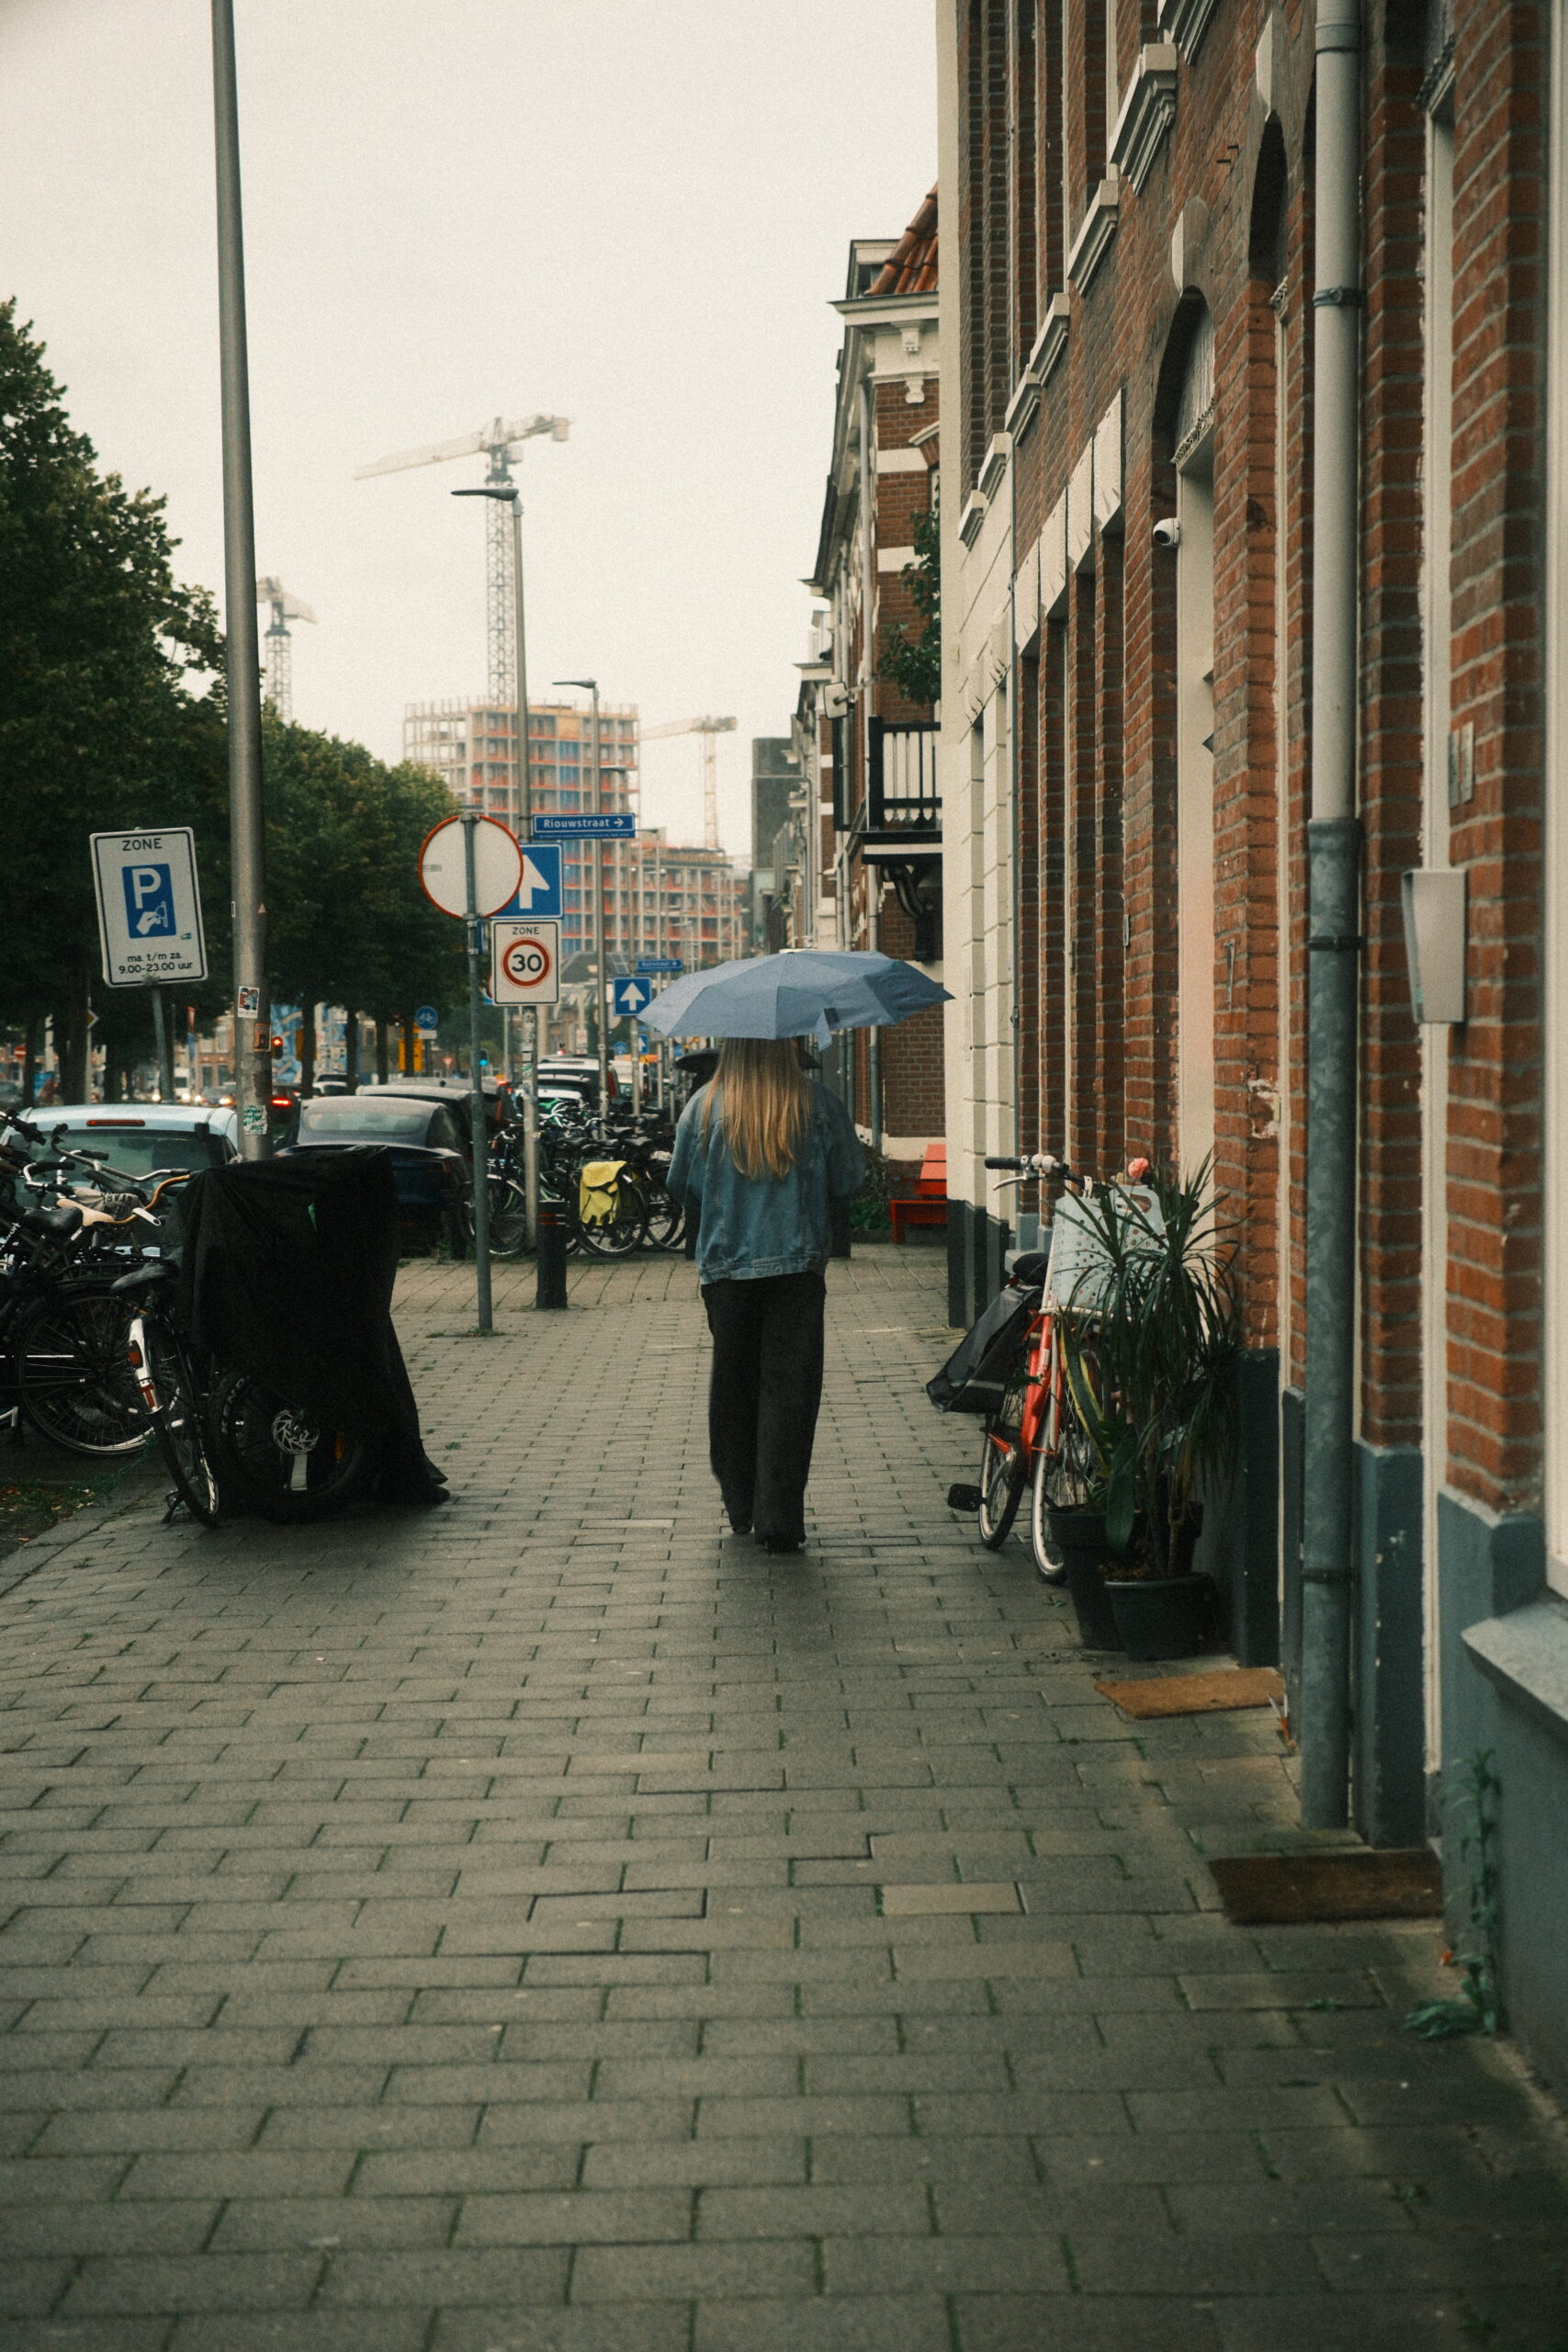
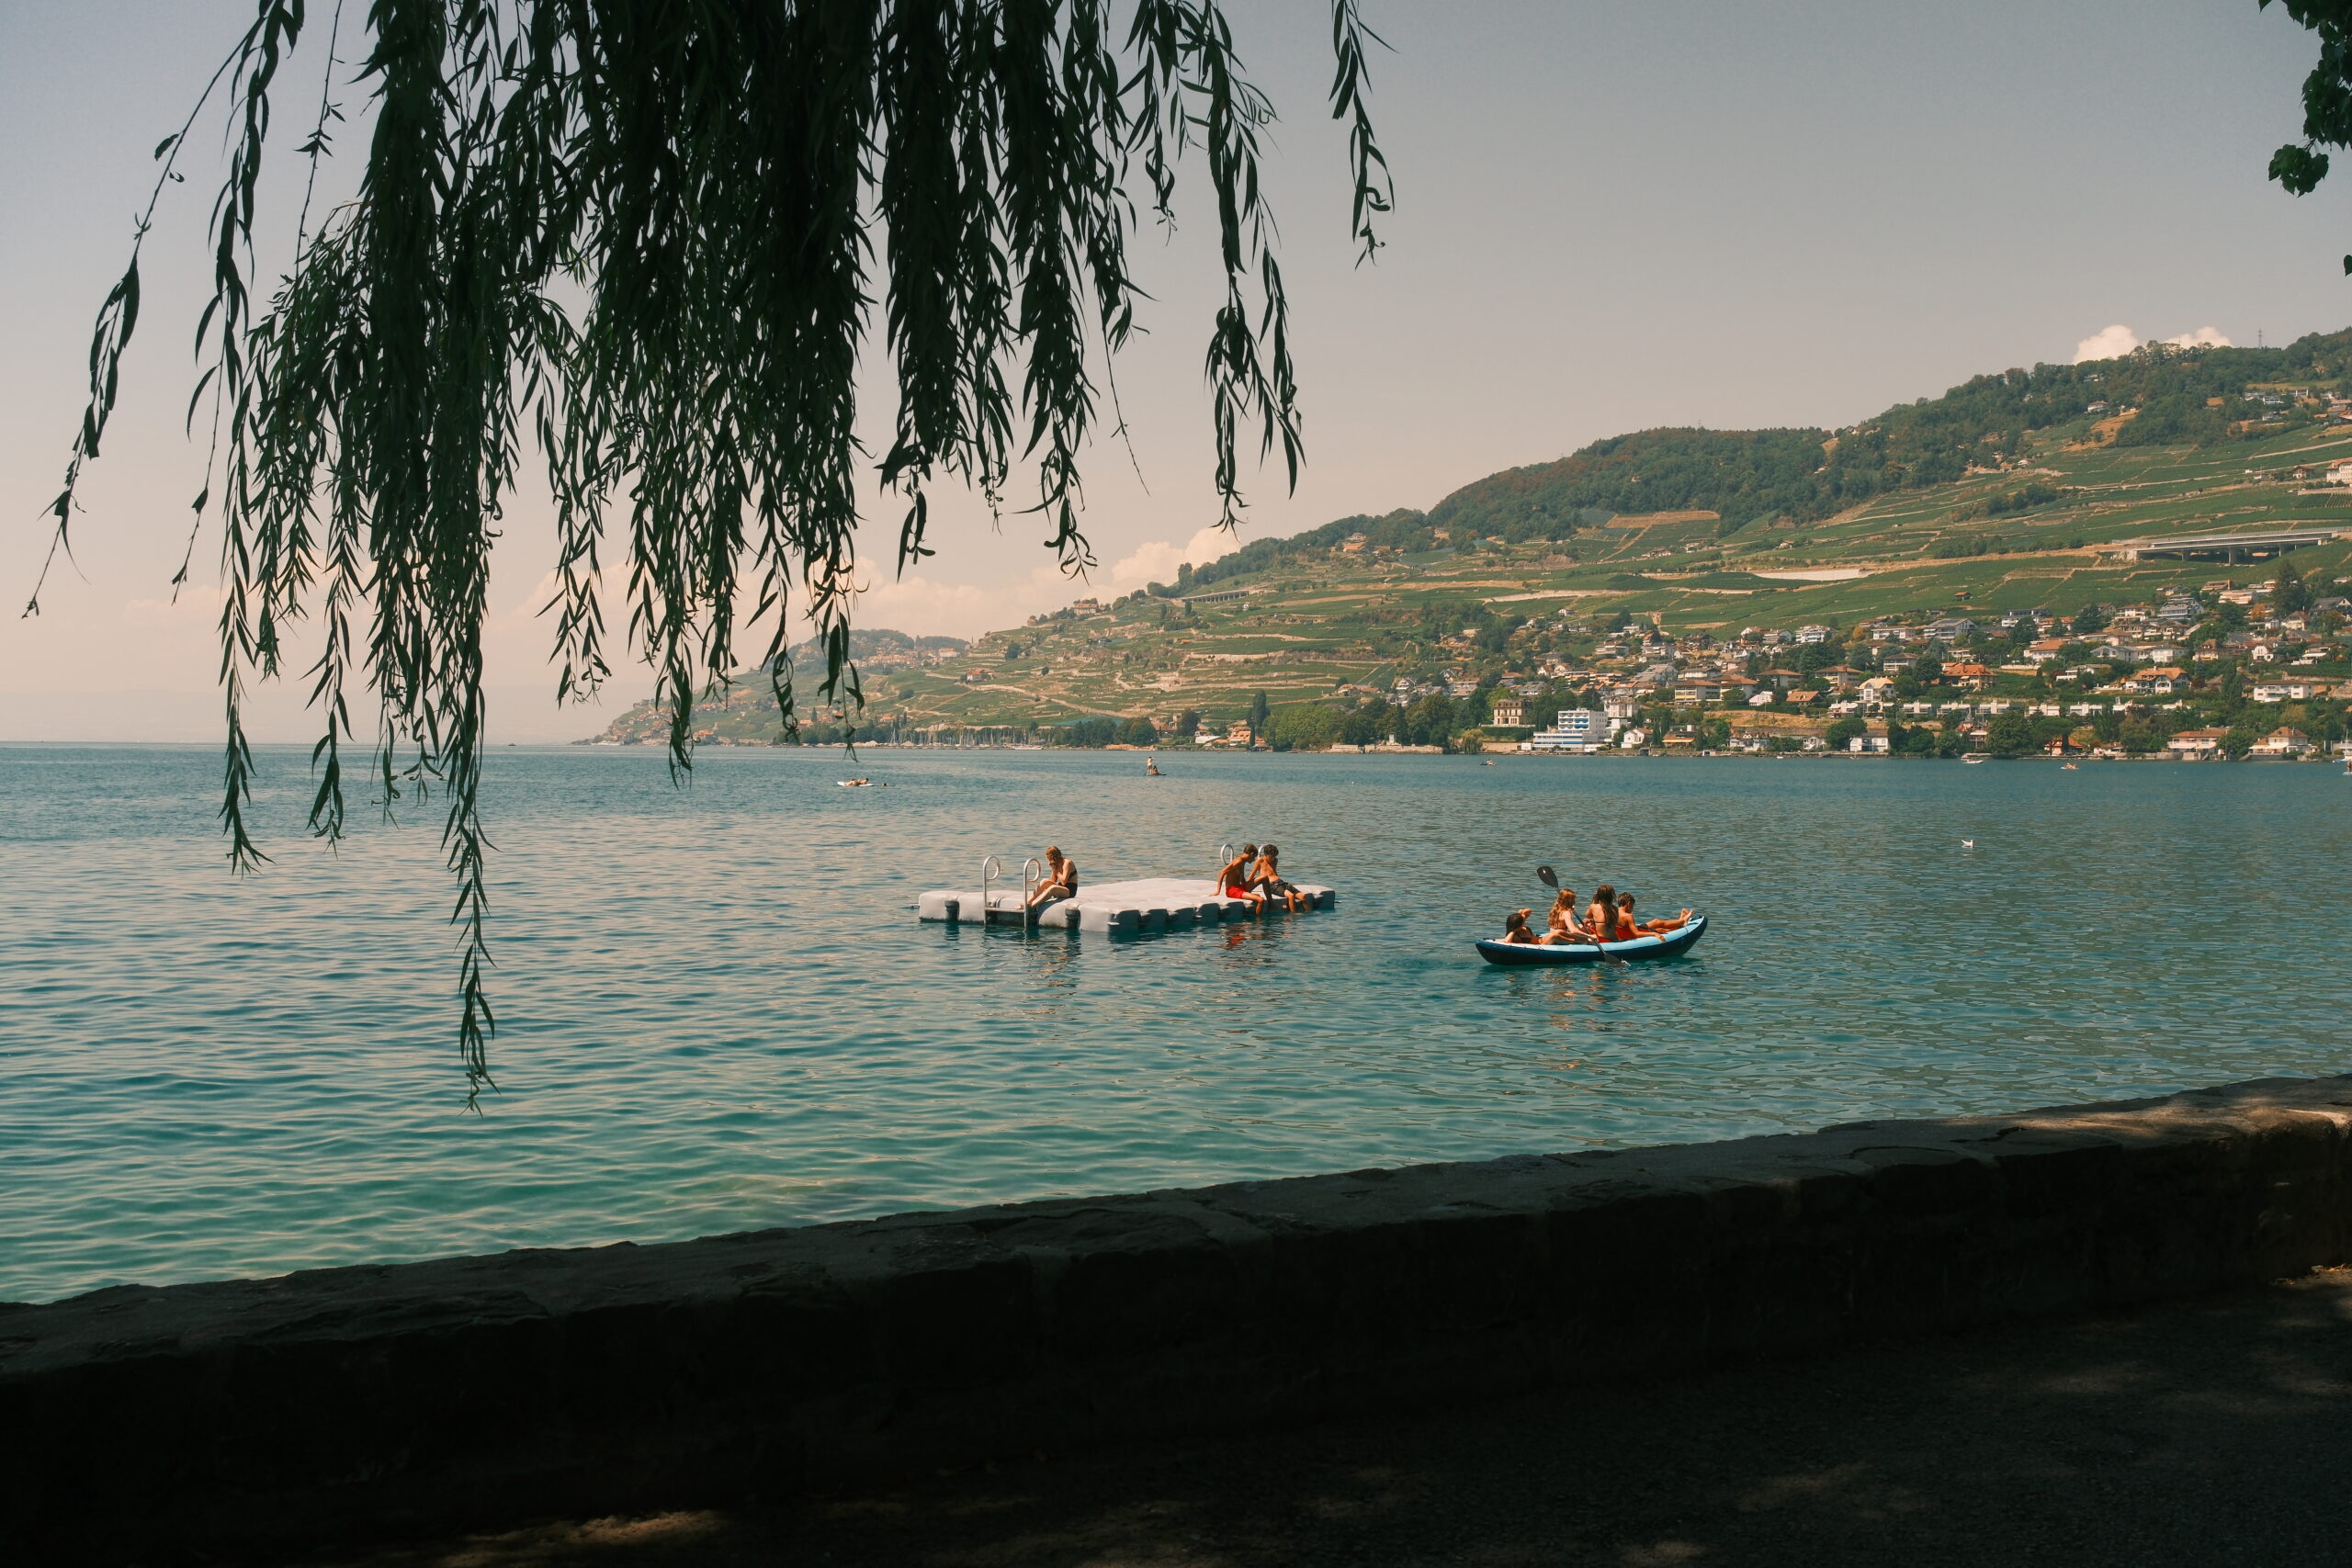
Street photography often gives you small areas of strong color:
- signs
- shop fronts
- cars
- clothing
- painted walls
- traffic lights
- reflections
A more stylized recipe can turn those details into part of the composition.
You can find my full recipe here:
Cuban Negative Fujifilm Recipe
Where I think Cuban Negative works best
I am most interested in using it with:
- hard daylight
- colorful buildings
- strong shadows
- older streets
- busy urban environments
The important thing for me is that the scene already contains something worth emphasizing.
I do not want to use a strong recipe simply to make an otherwise uninteresting photograph look more interesting.
The photograph still has to work first.
The recipe should support it.
3. Cinematic Gold — when the street already feels warm
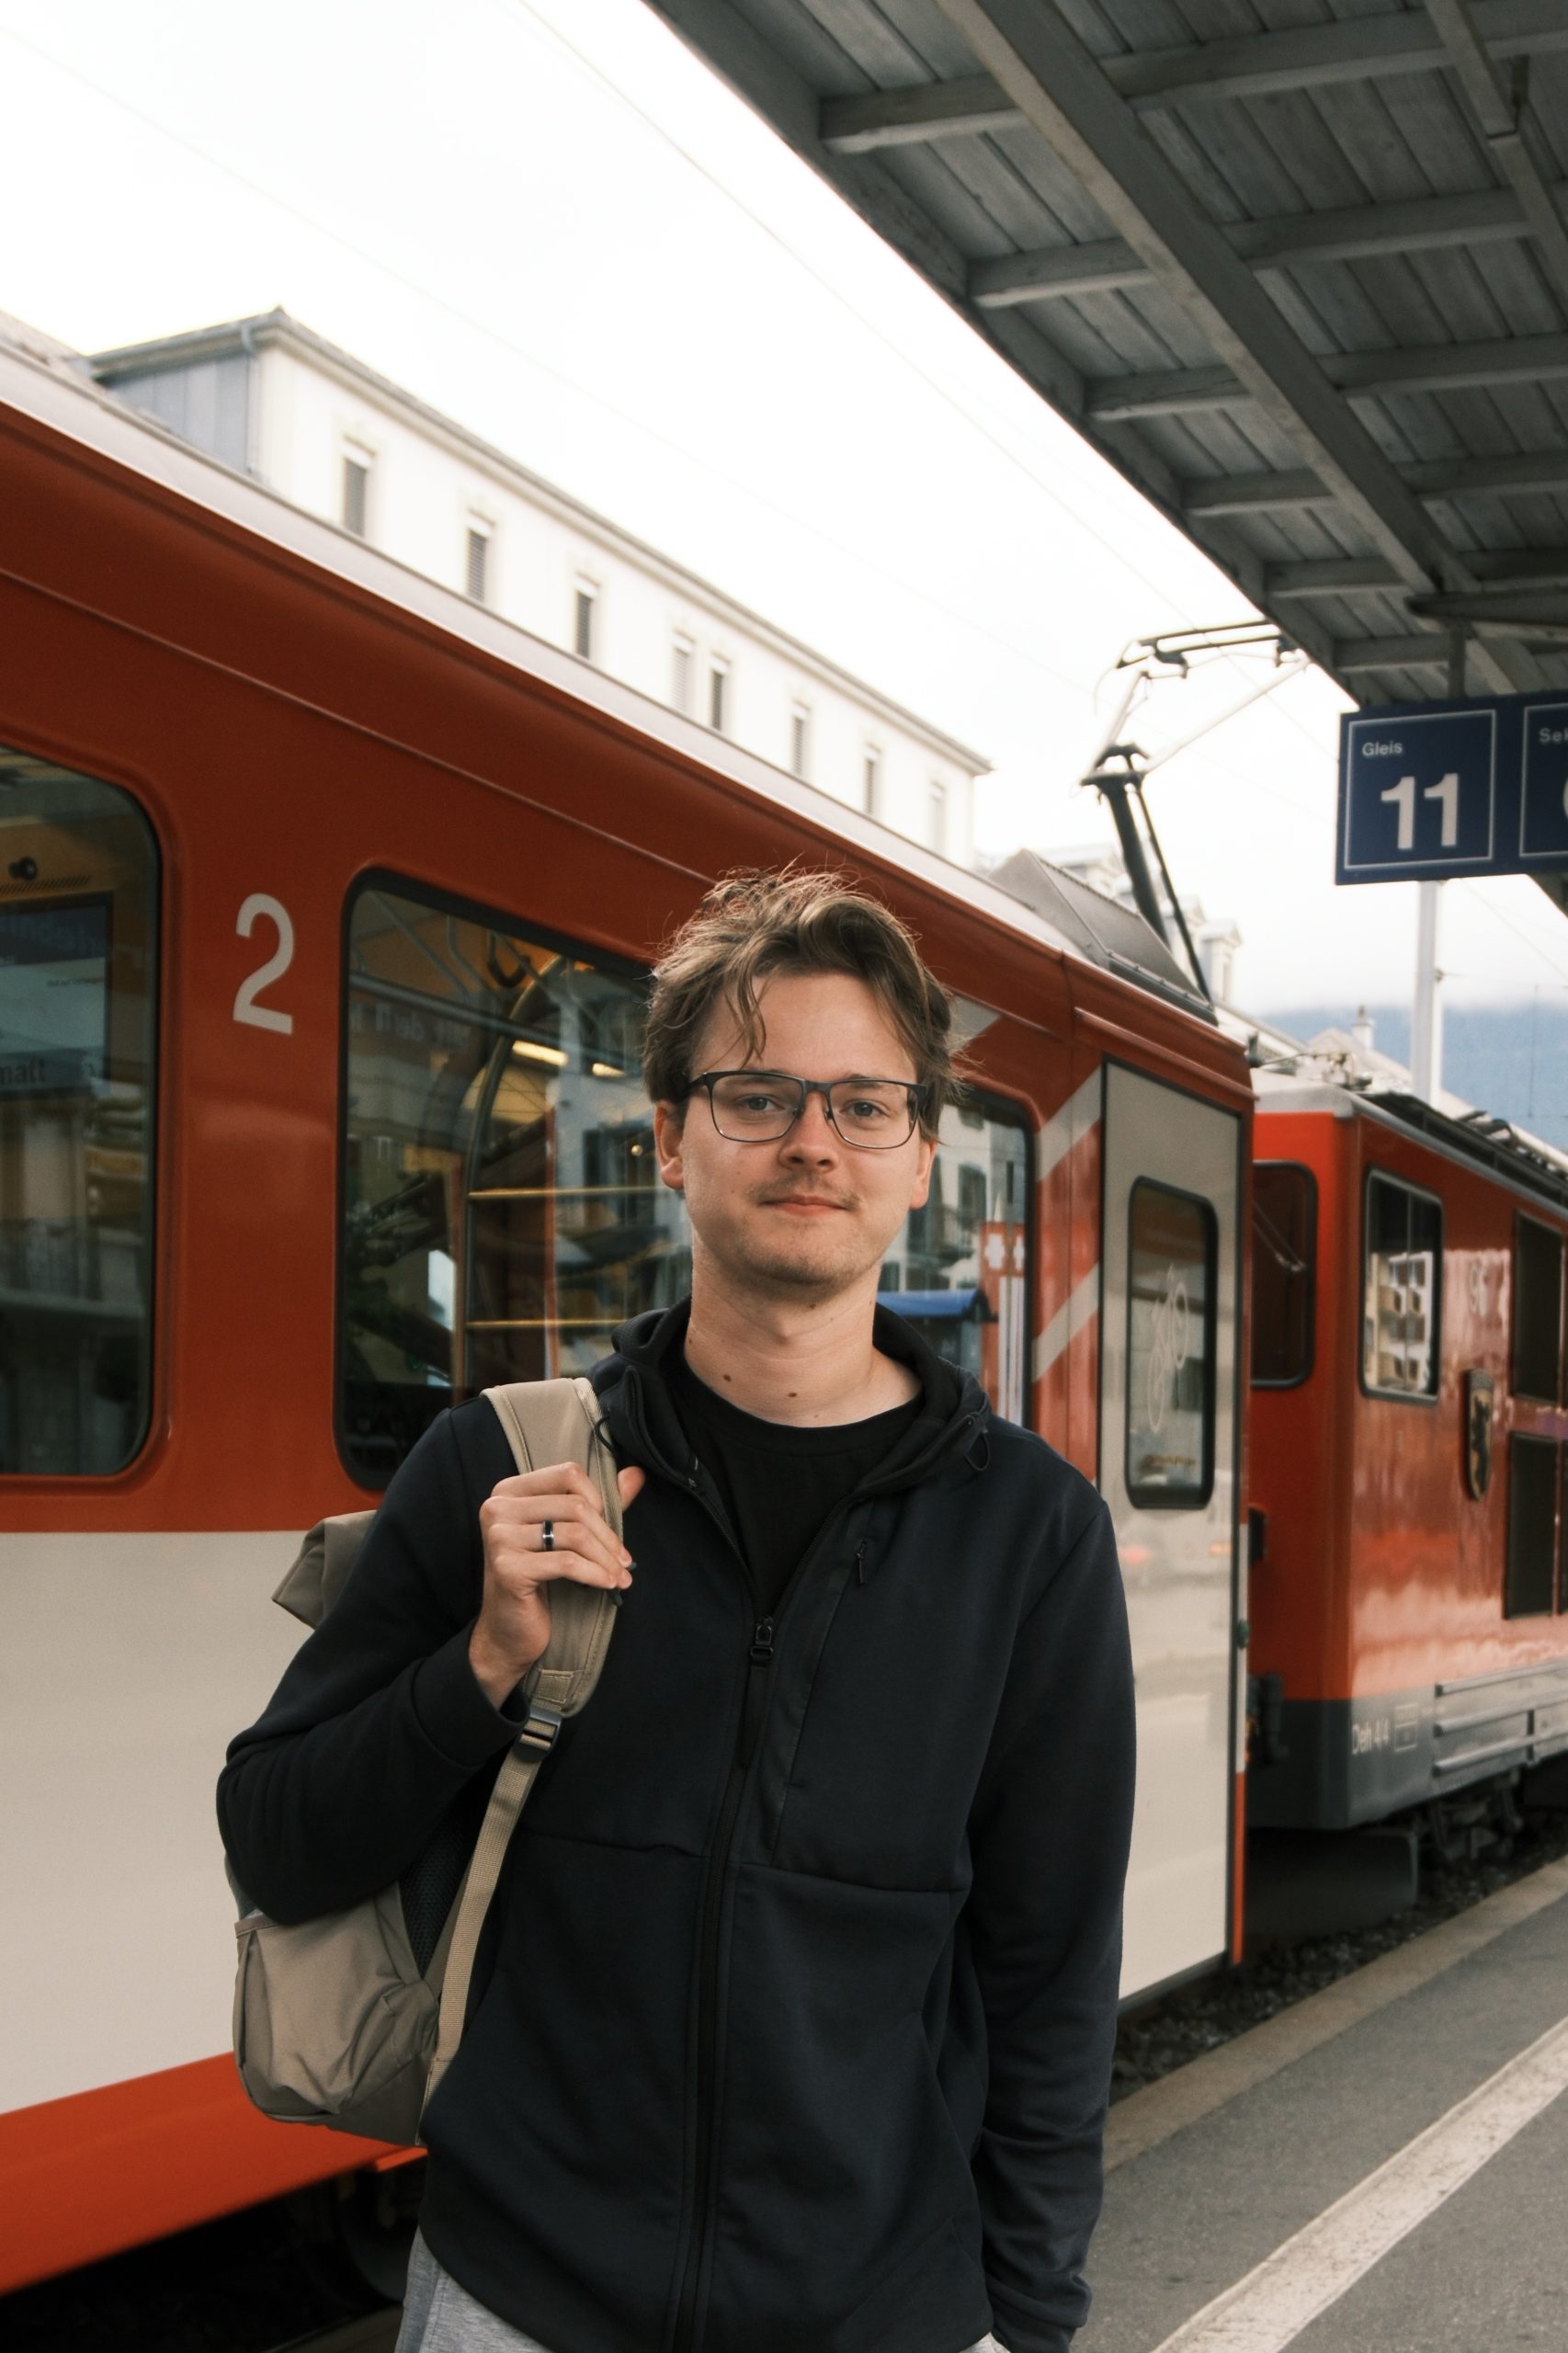
Cinematic Gold is currently the recipe I use most often on my X-E5 in general.


For street photography, I like it most when the existing light already works with its warmth.
That usually means:
- late afternoon
- golden hour
- older buildings
- warm artificial light
- cafés
- quieter streets
- travel scenes
You can find the settings here:
Cinematic Gold Fujifilm Recipe
I would not necessarily choose it for every street walk.
In strong midday sunlight, there are situations where the warmth can become too much.
But when the light is already warm, I really like the atmosphere it creates.
Why I like it for slower street photography
Not all street photography has to be fast.
Sometimes I am not chasing people or trying to react to a moment.
I am photographing:
- light on a wall
- an empty café
- a bicycle
- a quiet alley
- someone walking through a patch of sunlight
Cinematic Gold fits that slower type of photography well.
It gives everyday scenes a little more atmosphere without requiring much editing afterwards.
Photographing in bright sun? Street photography often means working with hard sunlight and deep shadows. I also tested how my Fujifilm recipes behave specifically in sunny conditions. See my Fujifilm recipes for sunny weather
4. Solaris — a recipe I am still figuring out
I am also currently testing Solaris by Film Sim Recipes.
The original recipe is available here:
I am still figuring out exactly where it belongs in my own photography.
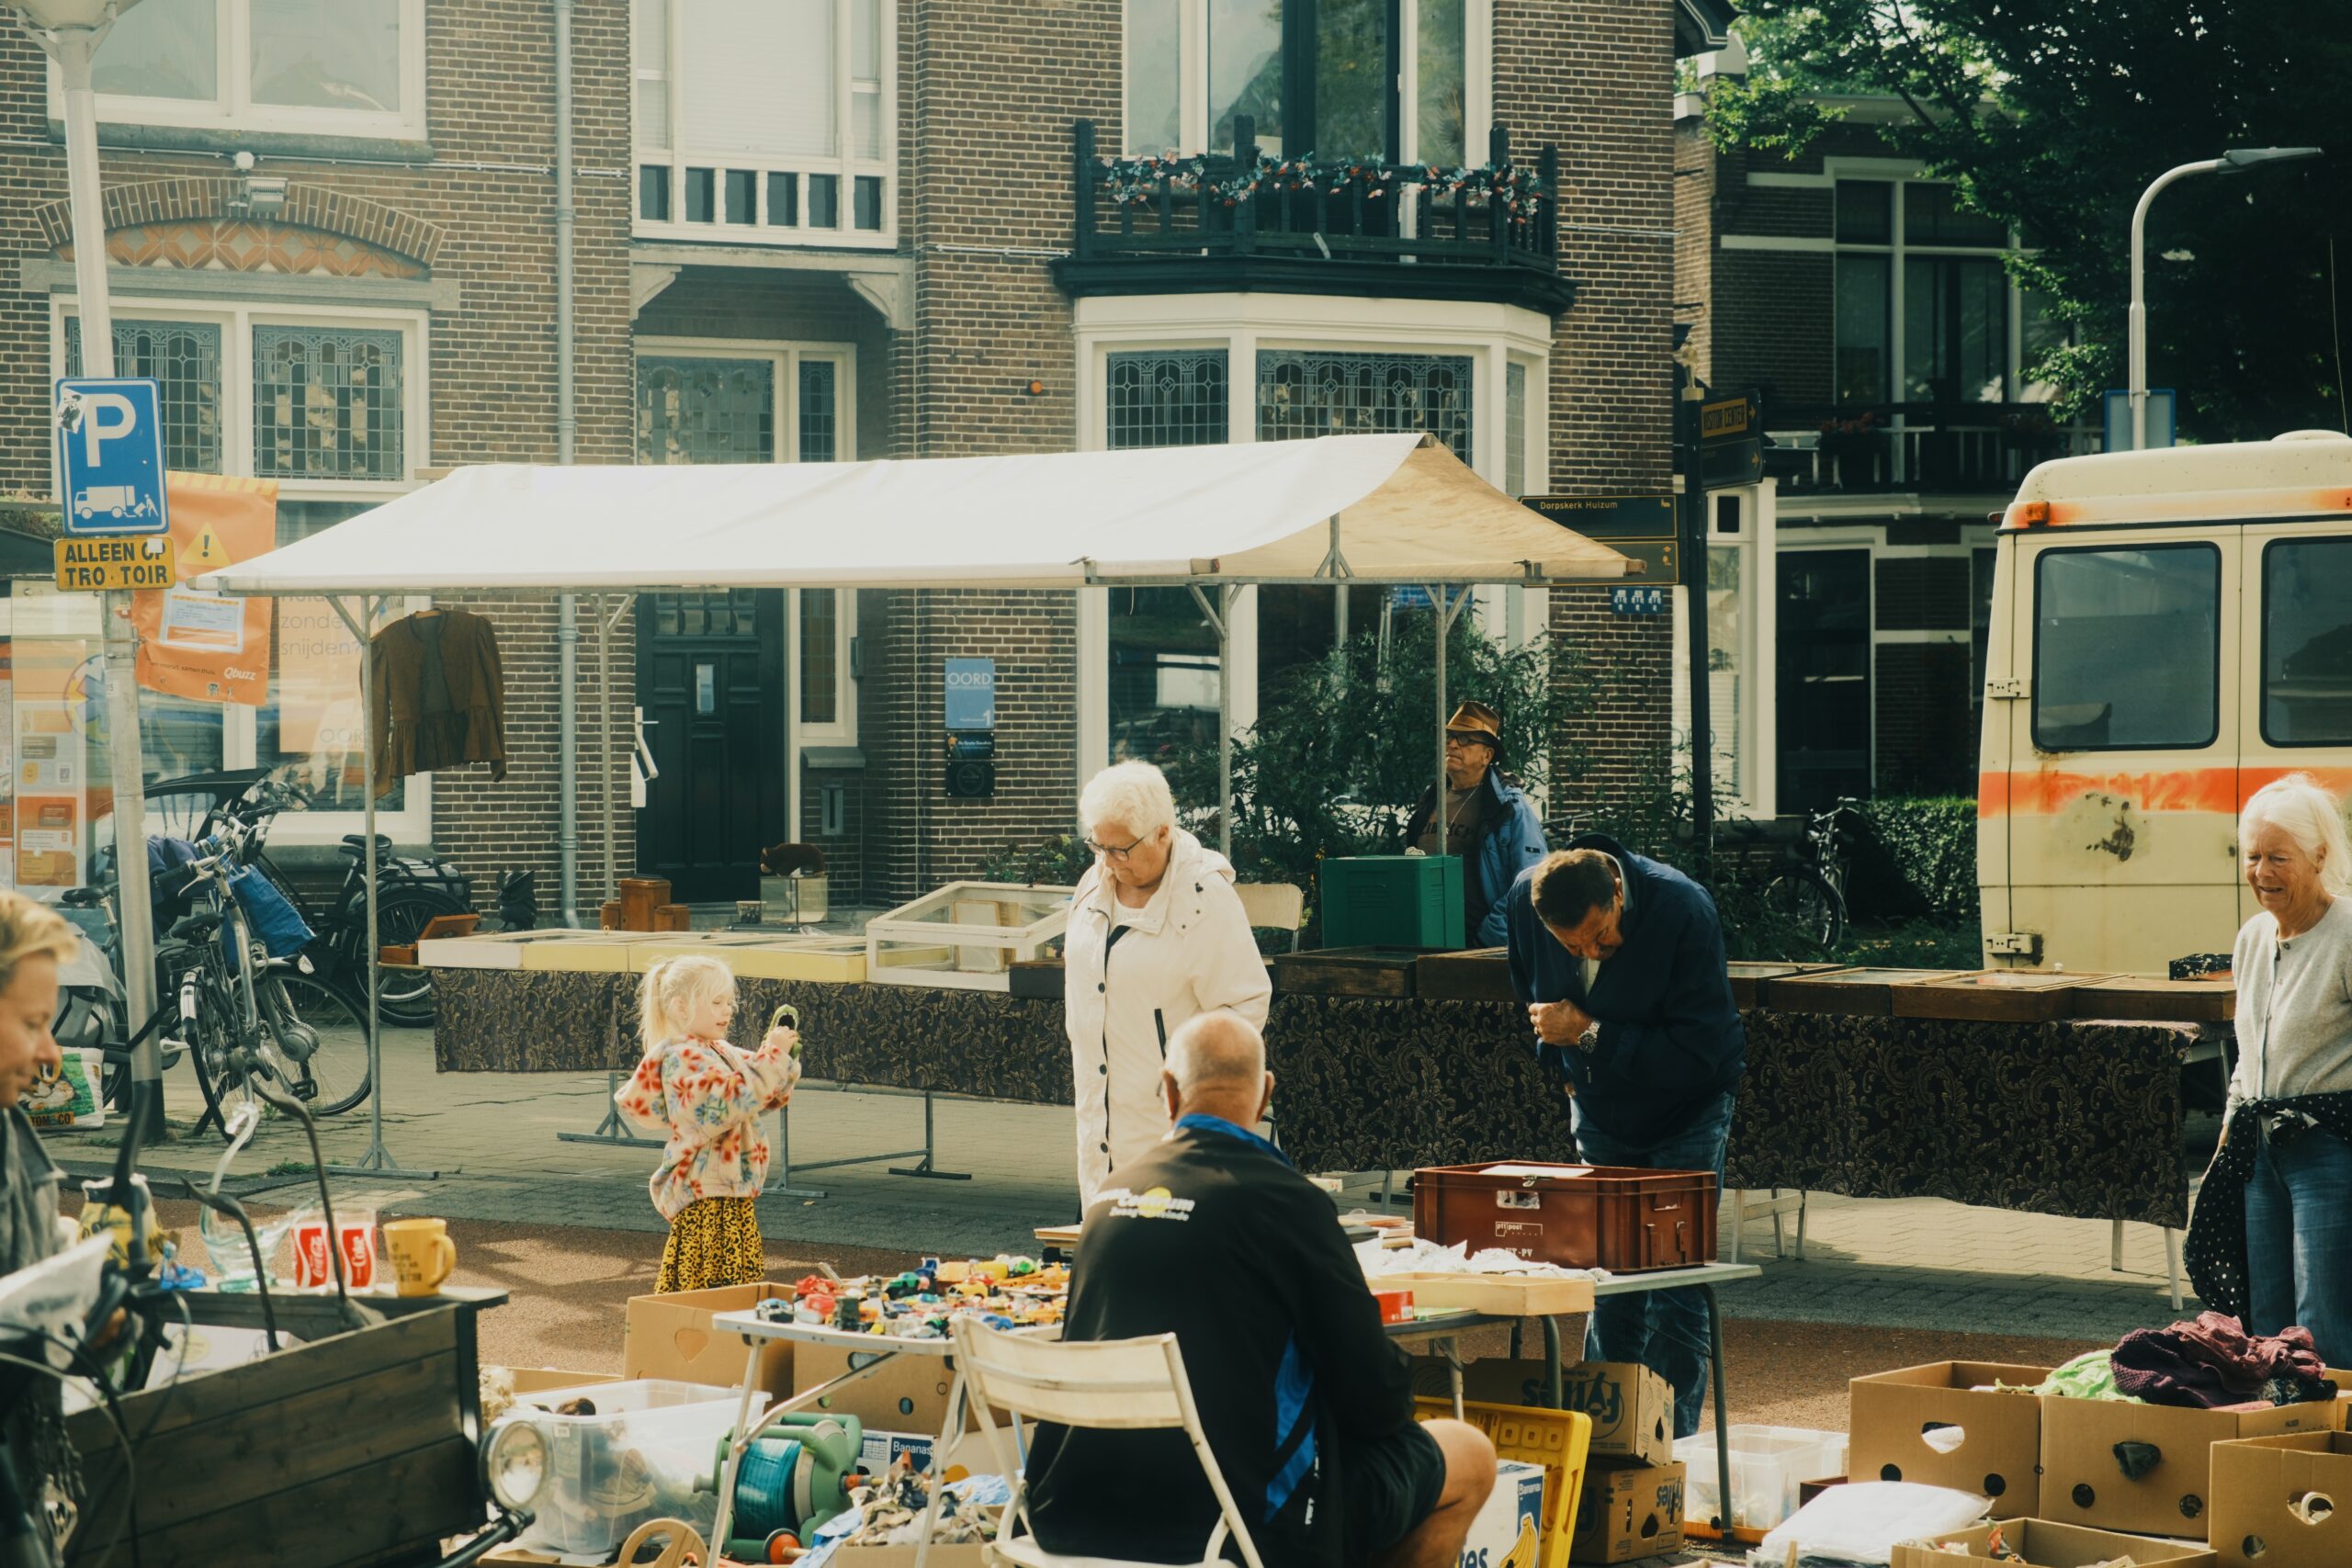

Street photography is one of the reasons I keep it saved.
A city gives me enough variation in a short period of time to understand a recipe quickly.
During one walk I can photograph:
- direct sunlight
- shade
- people
- storefronts
- greenery
- interiors
- artificial light
That makes it a good environment for testing whether a recipe is actually flexible.
I do not want to call Solaris one of my favorite street recipes yet.
At the moment, it is a recipe I am actively evaluating.
That may sound less exciting than simply calling everything “the best”, but I think it is more useful.
Color vs black and white for street photography
This is probably the biggest decision I make before a street walk.
Not the exact recipe.
Color or monochrome.
If color is important to the scene, I want to keep it.
For example:
- colored walls
- neon
- interesting clothing
- warm evening light
- strong blue skies
- contrasting signs
That is where Cuban Negative, Cinematic Gold or Solaris become more interesting.
But if the color is not contributing anything, black and white can make the photograph much simpler.
Then I start looking at:
- gestures
- expressions
- geometry
- shadows
- layers
- contrast
That is where Documentary Monochrome becomes useful.
The best street recipe depends on the light
Just like with landscape photography, I do not think there is one perfect street recipe.
The light changes too much.
Hard sunlight
Hard sunlight can be great for street photography.
It creates strong separation between light and shadow.
For color, this is where I am particularly interested in Cuban Negative.
For black and white, Documentary Monochrome can make the contrast itself become the subject.
Cloudy weather
On grey days, color can become much flatter.
Sometimes that works beautifully.
Sometimes it just looks dull.
This is when I am more likely to switch to black and white or choose a recipe that adds a stronger character to the JPEG.
I have a separate article about the recipes I use when the light becomes soft and overcast:
Best Fujifilm Recipes for Cloudy Weather
Golden hour
This is where Cinematic Gold becomes much more attractive to me.
If the light is already warm, I often prefer to work with that warmth rather than neutralize it.
Sunlight hitting a building, someone walking through a warm patch of light or reflections in windows can all work really well.
Evening and artificial light
This is the area I still want to test more.
Artificial light can completely change the behavior of a recipe.
White balance becomes much more important, especially when different light sources are mixed together.
That is one of the situations where I am happy that I also save a RAW file alongside my JPEG.
How I set up the X-E5 for street photography
My setup remains very simple.
I normally use:
- Aperture Priority
- Auto ISO
- AF-C
- Wide/Tracking
- Eye Detection
- Average Metering
- Mechanical shutter
- IBIS on
- Sigma 18–50mm f/2.8
And then I select one of my saved recipes.
I do not want to spend a street walk constantly changing technical settings.
The faster I can forget about the camera, the more attention I have for what is happening around me.
Recipes are more than film simulations: A Fujifilm recipe combines a film simulation with settings such as white balance, highlights, shadows, color, grain and other JPEG controls. Learn the difference between simulations and recipes
The Sigma 18–50mm f/2.8 for street photography
I currently use the Sigma 18–50mm f/2.8 most of the time on my X-E5.
A fixed prime can force you to move more and may be the more traditional street-photography choice.
But I like the flexibility of the zoom.
At the wider end I can photograph:
- streets
- buildings
- people in context
- layered scenes
At the longer end I can isolate:
- people
- details
- reflections
- small moments further away
For travel especially, I like not having to change lenses.
It means the same setup can handle a city walk, landscape and evening street photography.
How many street photography recipes do you need?
Probably fewer than you think.
I would rather have:
one color recipe + one black-and-white recipe
that I know really well than seven recipes I barely understand.
A simple two-recipe setup could be:
Cuban Negative + Documentary Monochrome
or:
Cinematic Gold + Documentary Monochrome
That gives you two genuinely different ways of looking at the same street.
If the difference between two recipes is so subtle that I cannot explain when I would choose one over the other, I probably do not need both saved.
I don't fill every custom slot: Having more custom slots does not mean you need more recipes. I prefer a smaller set of looks that I understand and actually use. Read how many Fujifilm recipes I think you need
How I test a recipe for street photography
I do not judge a recipe from one good photograph.
During a street walk, I try to photograph different types of scenes.
I specifically look for:
- a person in direct sunlight
- a person in shade
- strong shadows
- colorful buildings
- neutral concrete
- greenery
- skin tones
- bright signs
- reflections
- artificial light
- a high-contrast scene
- a quieter, low-contrast scene
Afterwards I look at the JPEGs together.
The question is not:
Did this recipe create one great image?
It is:
Did I like how this recipe behaved throughout the walk?
That is a much harder test.
When a recipe earns a permanent custom slot
For me, a street recipe has earned its place when I stop thinking about the recipe itself.
I know roughly:
- what it does to skin
- how it handles sun
- what its greens look like
- what happens in shade
- whether the shadows become too heavy
- whether I like the white balance
At that point I can concentrate on photography.
That is ultimately what I want from a recipe.
Not another setting to obsess over.
Something that removes decisions.
My current street photography setup
If I were leaving for a street walk right now, my choice would probably be:
For black and white
Documentary Monochrome
For stronger color
Cuban Negative
For warmer, slower scenes
Cinematic Gold
To keep testing
Solaris
That may change.
In fact, I expect it to.
The more I use these recipes, the clearer it becomes which ones genuinely fit the way I photograph and which ones simply looked interesting when I first saved them.
Final thoughts
I do not think the best Fujifilm recipe for street photography is the one with the most dramatic settings.
It is the one that helps you see.
For me, that currently means having clearly different options rather than a huge library.
Documentary Monochrome removes the distraction of color.
Cuban Negative gives me a more stylized color option.
Cinematic Gold works when I want warmth and atmosphere.
And Solaris is still earning its place.
The goal is not to collect recipes.
It is to eventually know them well enough that when I see a scene, I already know which one I want to use
Frequently asked questions