In this guide
I do not use my Fujifilm X-E5 with a complicated setup.
Most of the time, I want the camera to disappear as much as possible.
I choose the aperture, adjust exposure compensation when the light requires it, select the recipe I want and start taking photos.
That is basically my entire approach.
I shoot Fine JPEG + RAW, almost always use a saved custom recipe, and keep the camera in Aperture Priority. My most-used lens is the Sigma 18–50mm f/2.8, which gives me a compact setup that works for travel, street photography and everyday shooting.
These are the Fujifilm X-E5 settings I currently use and, more importantly, why I use them.
My Fujifilm X-E5 settings at a glance
| Setting | My setup |
|---|---|
| Aspect Ratio | 3:2 |
| Image Quality | Fine JPEG + RAW |
| RAW Compression | Uncompressed |
| Exposure Mode | Aperture Priority |
| ISO | Auto |
| Maximum ISO | 800 |
| Shutter Speed | Auto |
| Metering | Average |
| Autofocus | AF-C |
| AF Area | Wide/Tracking |
| Eye Detection | On |
| Shutter | Mechanical |
| IBIS | On |
| Main lens | Sigma 18–50mm f/2.8 |
| Default recipe | Cinematic Gold |
| Custom presets | Cinematic Gold, Cuban Negative, Solaris, Documentary Monochrome, Mountain Reality |
This is not meant to be a universal “best Fujifilm X-E5 settings” setup.
It is simply the configuration that currently gets out of my way and lets me concentrate on the photograph.
New to Fujifilm recipes? Most of my X-E5 setup revolves around saved JPEG recipes. If you are not sure what a recipe is or how to save one to your camera, I have a separate beginner guide. Learn how to use Fujifilm recipes
I shoot Fine JPEG + RAW
My X-E5 is set to Fine JPEG + RAW.
The JPEG is the file I actually care about most.
One of the main reasons I use Fujifilm is that I enjoy choosing the look before I take the photo rather than assuming every image will need significant editing later.
Most of the time, the JPEG is either finished or very close to finished.
I still save a RAW file alongside it.
That gives me some flexibility if:
- exposure went wrong
- white balance does not work
- highlights need recovering
- I really like the photo but not the recipe
- I want to make a more substantial edit later
I see RAW more as insurance than as the beginning of my normal workflow.
Do Fujifilm JPEGs replace Lightroom? For me, Lightroom has become optional rather than mandatory. I still keep RAW files, but most of the photographs I actually want already work as JPEGs. Read my Fujifilm JPEG vs RAW workflow
Why I use the 3:2 aspect ratio
I leave the camera at 3:2.
It is the native shape I am used to composing with, and I prefer to make cropping decisions later rather than committing to a different ratio in-camera.
I sometimes crop photographs for social media or a specific article, but while shooting I want the full frame available.
There is nothing particularly creative about this setting.
It is just the option that creates the least friction for me.
I almost always shoot in Aperture Priority
My default exposure mode is Aperture Priority.
I choose the aperture and let the camera handle shutter speed.
For the photography I do, depth of field is usually a more deliberate creative decision than shutter speed.
If I am walking through a city, for example, I can quickly choose:
- f/2.8 when I want more subject separation
- around f/4–f/5.6 for general street and travel photography
- a smaller aperture when I want more of a landscape in focus
The camera then handles the rest.
That makes Aperture Priority fast enough that I rarely feel a need to switch into fully manual exposure.
Auto ISO with a maximum of ISO 800
I keep ISO on Auto with a maximum of ISO 800.
For most of my daytime photography, that is enough.
I would rather let the camera move between lower ISO values automatically than think about ISO every time the light changes.
The maximum of 800 also reflects how I normally photograph.
Most of my images are taken:
- outside
- during daylight
- while travelling
- in cities
- around landscapes
If I were regularly shooting concerts or night street photography, I would probably use a different Auto ISO configuration.
But for my normal use, ISO 800 covers the situations I care about most.
Shutter speed stays on Auto
Because I use Aperture Priority, shutter speed is usually left to the camera.
I do not have one fixed minimum shutter speed that I insist on using.
The X-E5 has IBIS, and I leave that enabled, so I can get away with slower shutter speeds in situations where the subject itself is not moving much.
Of course, IBIS cannot freeze a walking person.
If movement becomes important, I pay more attention to the shutter speed or change my settings for that situation.
But for normal travel photography, Auto works well enough that I do not want to micromanage it.
I use exposure compensation constantly
Exposure compensation is one of the controls I actually change while shooting.
I do not have one standard value.
It depends entirely on the light.
Sometimes the camera gets the scene exactly where I want it.
Other times I deliberately darken the exposure to protect bright skies or create deeper shadows.
And occasionally I push it brighter.
This is also why I do not think copying somebody else’s exposure compensation setting makes much sense.
+1/3 or -2/3 is not part of a recipe for me.
It is a response to the scene in front of me.
That separation is important.
My recipe determines the look.
Exposure compensation determines how I want that particular frame exposed.
Average metering
My normal metering mode is Average.
I like the predictability of it.
Rather than letting one bright or dark part of the frame dominate the exposure decision, the camera evaluates the scene more broadly.
I then use exposure compensation if I want to move the image brighter or darker.
That combination works naturally with how I shoot:
Average Metering + Aperture Priority + Exposure Compensation
means I can make exposure decisions very quickly without switching to full manual control.
AF-C almost all the time
I use AF-C as my standard autofocus mode.
Even when the subject is not moving particularly fast, I like knowing that the camera can keep adjusting focus while I compose.
My autofocus area is usually:
Wide/Tracking
and I keep Eye Detection enabled.
That gives me a flexible setup when I am moving between:
- people
- street scenes
- architecture
- landscapes
- spontaneous travel photographs
It is not necessarily the technically perfect autofocus configuration for every individual subject.
It is the configuration that means I rarely need to think about autofocus at all.
And that is more valuable to me.
Eye Detection stays on
I keep Eye Detection enabled because people can appear in my photographs without me specifically planning a portrait.
If I am photographing someone, I want the camera to recognize an eye without requiring me to change focus modes first.
For landscapes or architecture it generally does not interfere with how I work.
So I simply leave it on.
I use the mechanical shutter
My standard shutter setting is the mechanical shutter.
I prefer keeping the camera behavior predictable rather than switching between shutter types unnecessarily.
The electronic shutter can obviously be useful in certain situations, particularly when you want silent shooting or shutter speeds beyond the mechanical shutter’s range.
But it is not my everyday default.
Mechanical shutter covers almost everything I normally photograph.
IBIS stays on
I leave IBIS enabled.
There is very little reason for me to disable it during normal handheld photography.
It becomes especially useful when the light starts fading and the camera selects a slower shutter speed.
Combined with the relatively fast Sigma 18–50mm f/2.8, it gives me quite a flexible handheld setup.
My main lens: Sigma 18–50mm f/2.8
The lens I currently use most on the X-E5 is the Sigma 18–50mm f/2.8.
For me, the range is extremely practical.
At the wide end I can photograph:
- landscapes
- architecture
- interiors
- travel scenes
And toward 50mm I can isolate details, people or more distant elements.
The constant f/2.8 aperture also means the lens stays useful when the light starts getting worse.
I like prime lenses, but when I am travelling I often prefer not having to decide which focal length I might need before leaving.
The 18–50mm solves that.
It also matches the philosophy behind the rest of this setup:
less time configuring the camera, more time taking photographs.
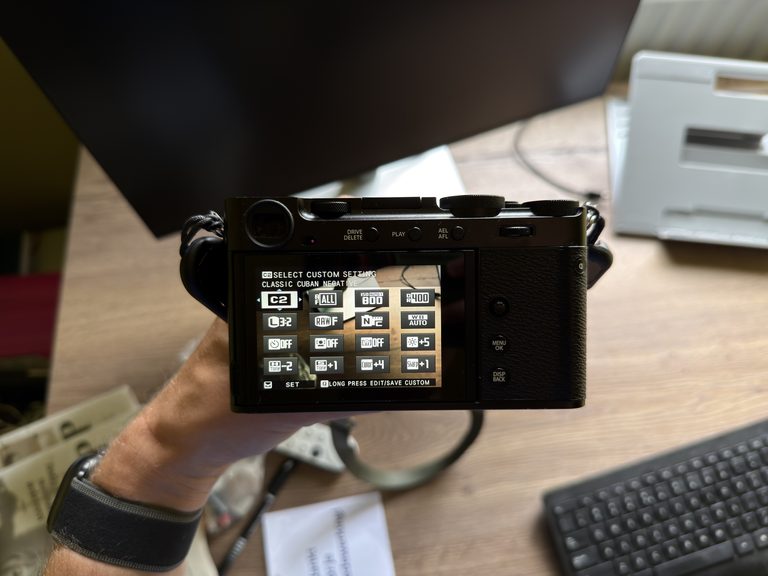
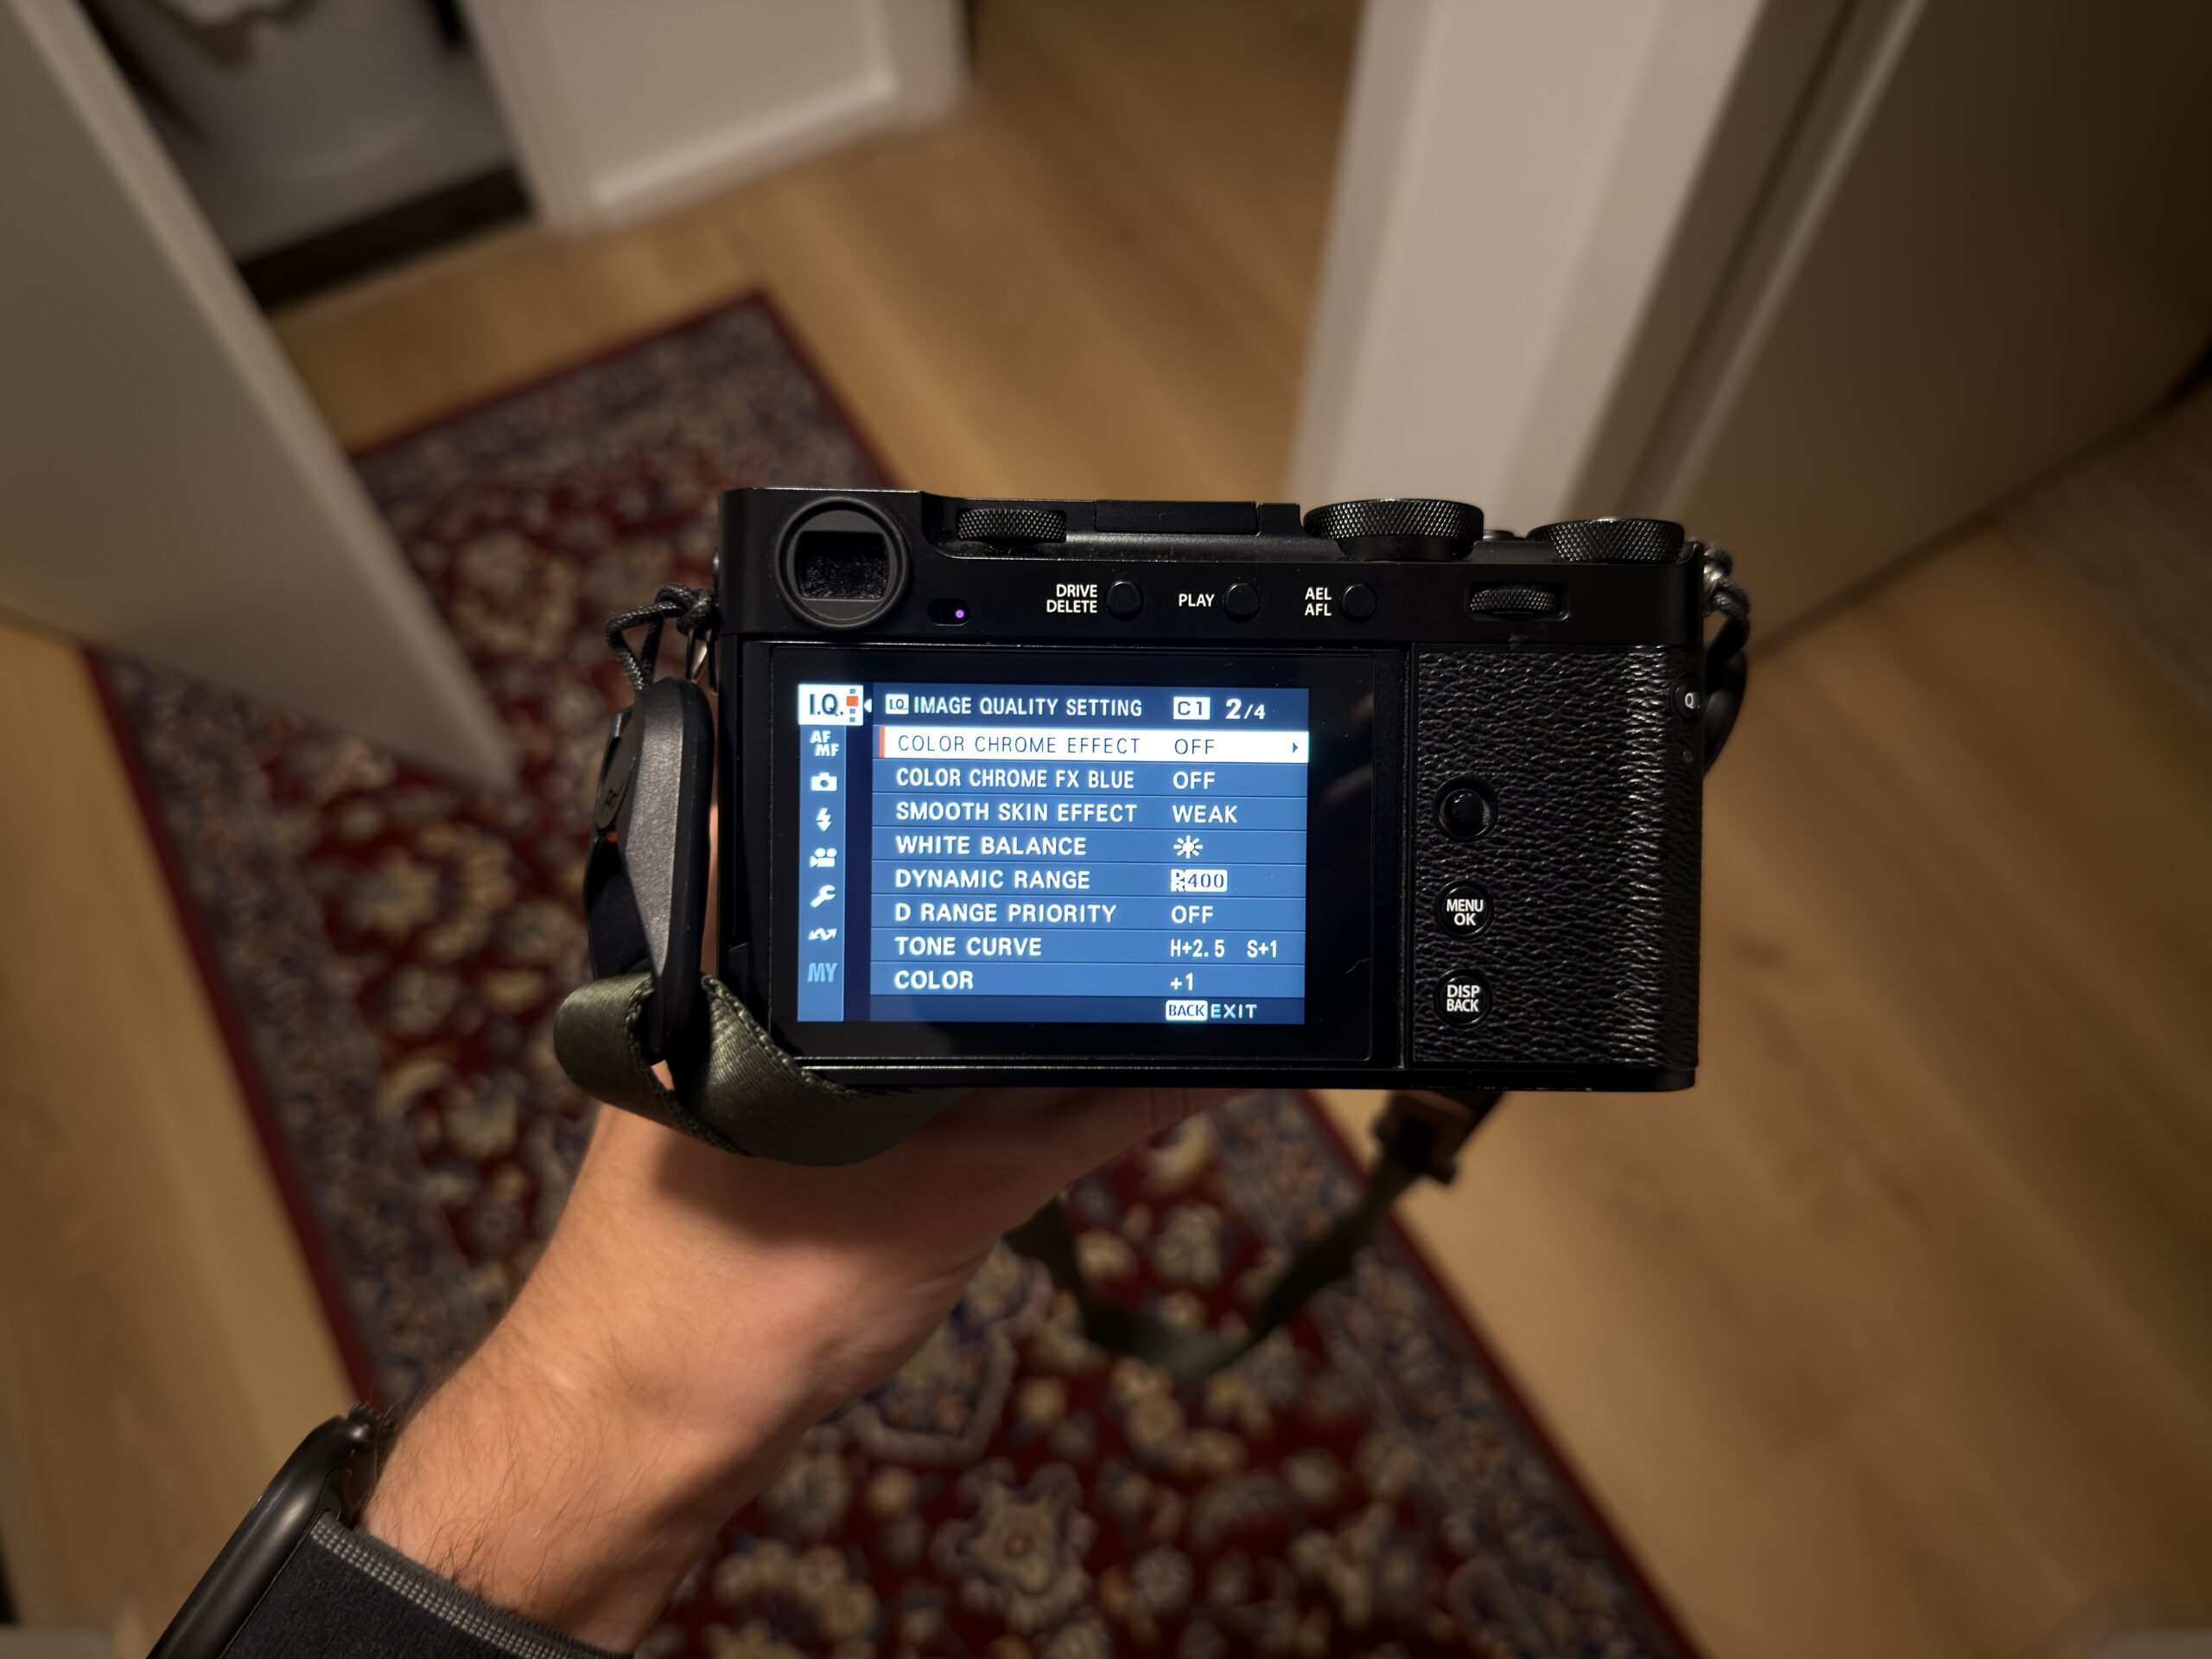
My Fujifilm X-E5 custom recipe slots
This is the part of the X-E5 setup that changes most often.
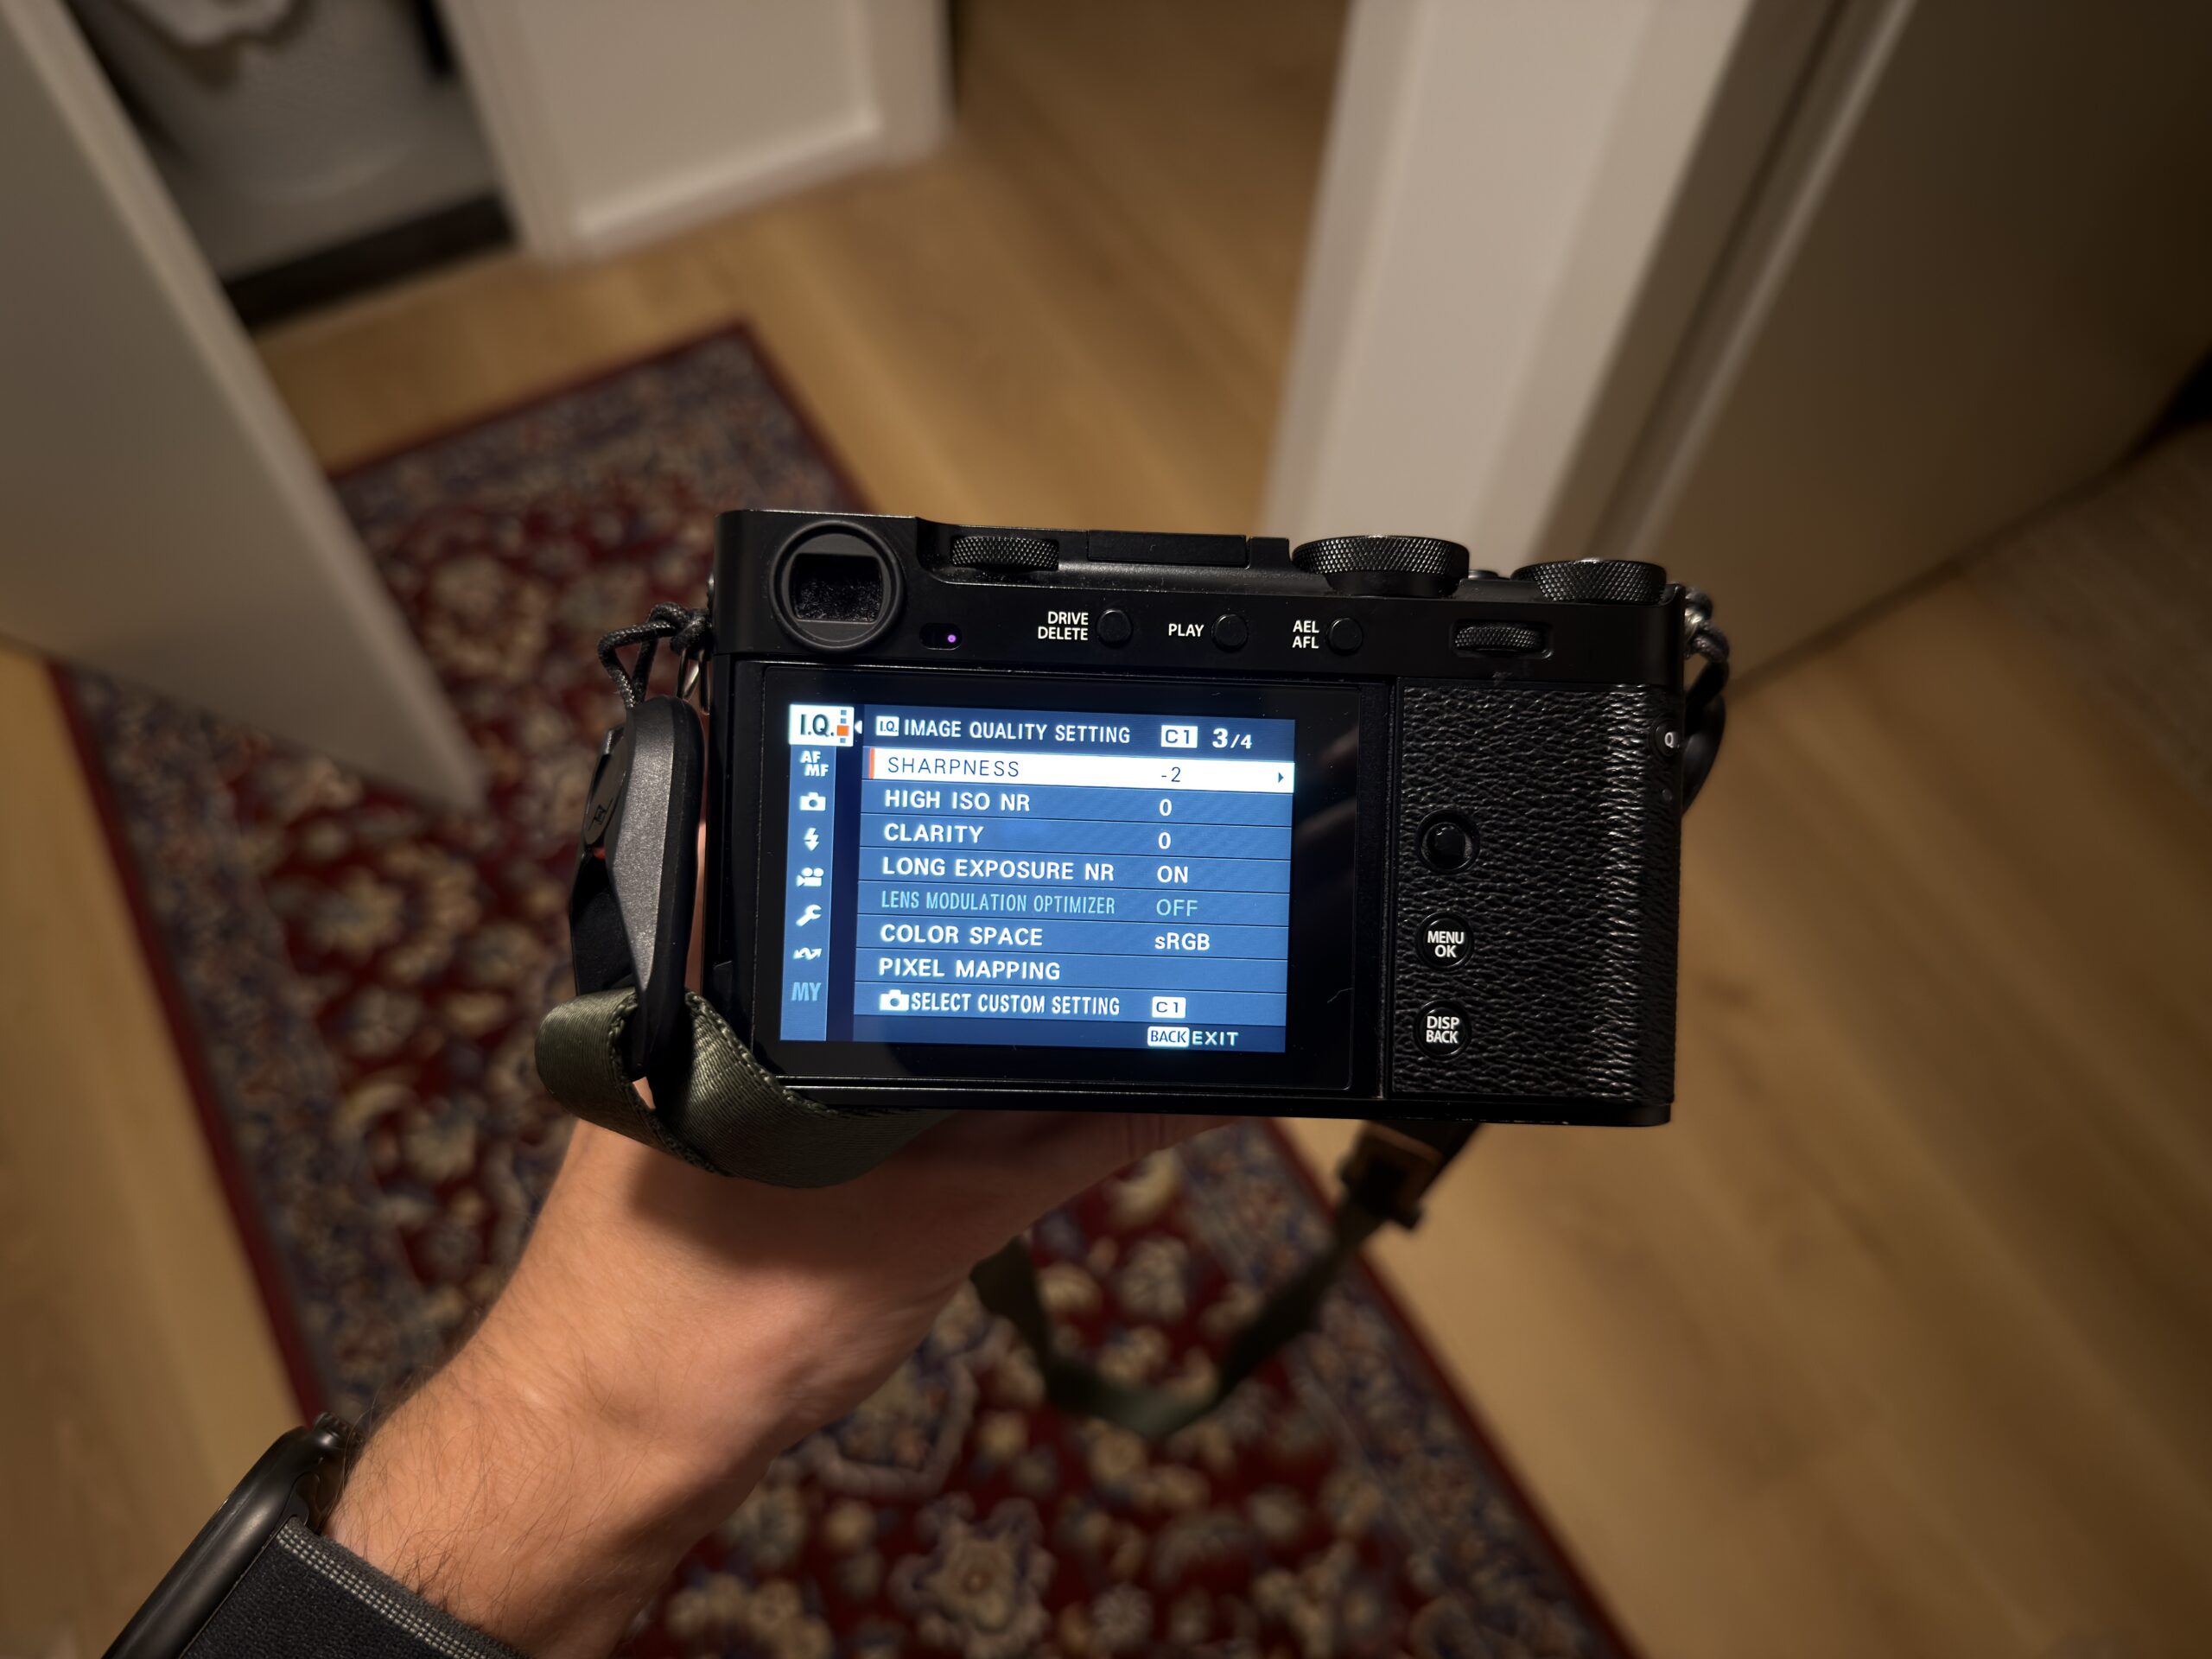
I almost always shoot using a C preset containing a recipe rather than starting from a standard film simulation.
My current set contains:
Cinematic Gold
This is currently my default recipe.
It is warmer and more nostalgic than a neutral JPEG setup and works particularly well when I want the photograph to have a more obvious mood.
I have been using it again more deliberately recently to better understand which types of light suit it.
Cuban Negative
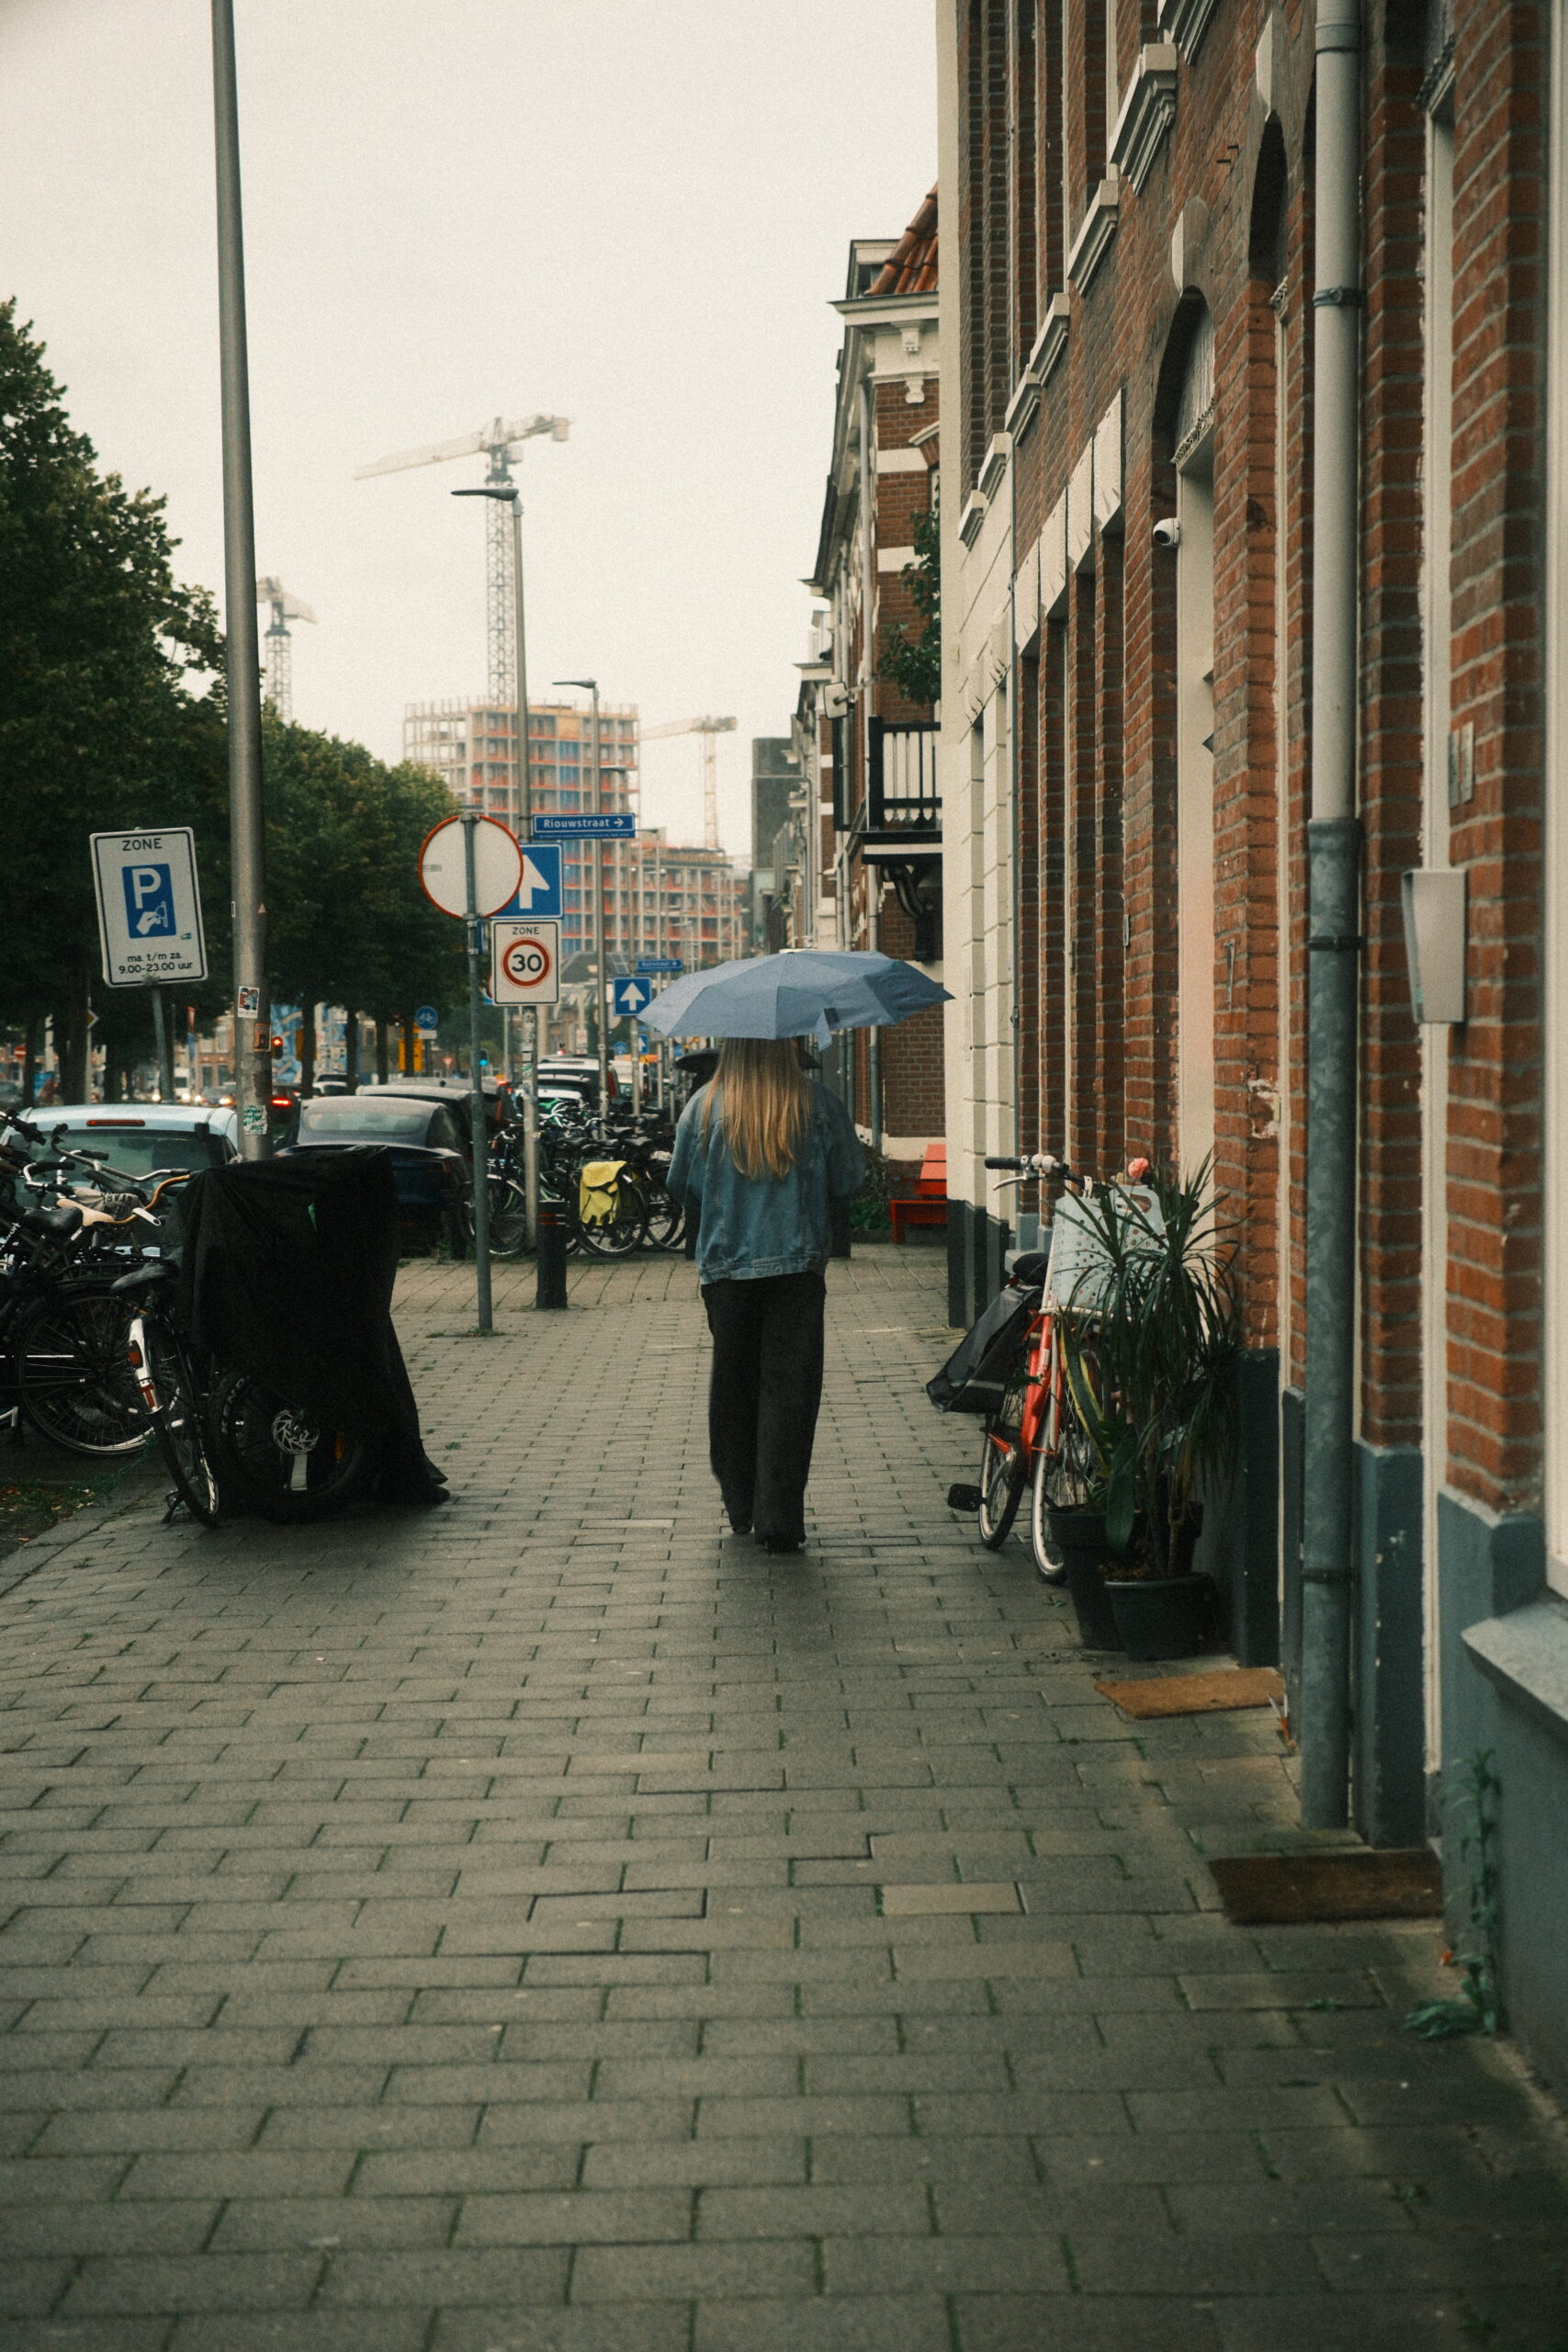
Cuban Negative is a more stylized option.
I am currently testing it more deliberately for street photography and bright conditions rather than treating it as an automatic favorite.
Solaris
Solaris is a recipe I am currently testing from Film Sim Recipes.
I did not create this one.
The original recipe is available here:
I am still figuring out exactly where it belongs in my own setup.
That is also why I think custom slots should change over time.
A recipe does not earn a permanent place just because it looked good when I first found it.
Documentary Monochrome
My current alternative black-and-white setup is Documentary Monochrome by Kevin Mullins.
The original recipe can be found here:
Documentary Monochrome by Kevin Mullins
I am particularly interested in using this more for street photography.
Black and white changes what I look for in a scene, especially when light, contrast and shape matter more than color.
Mountain Reality
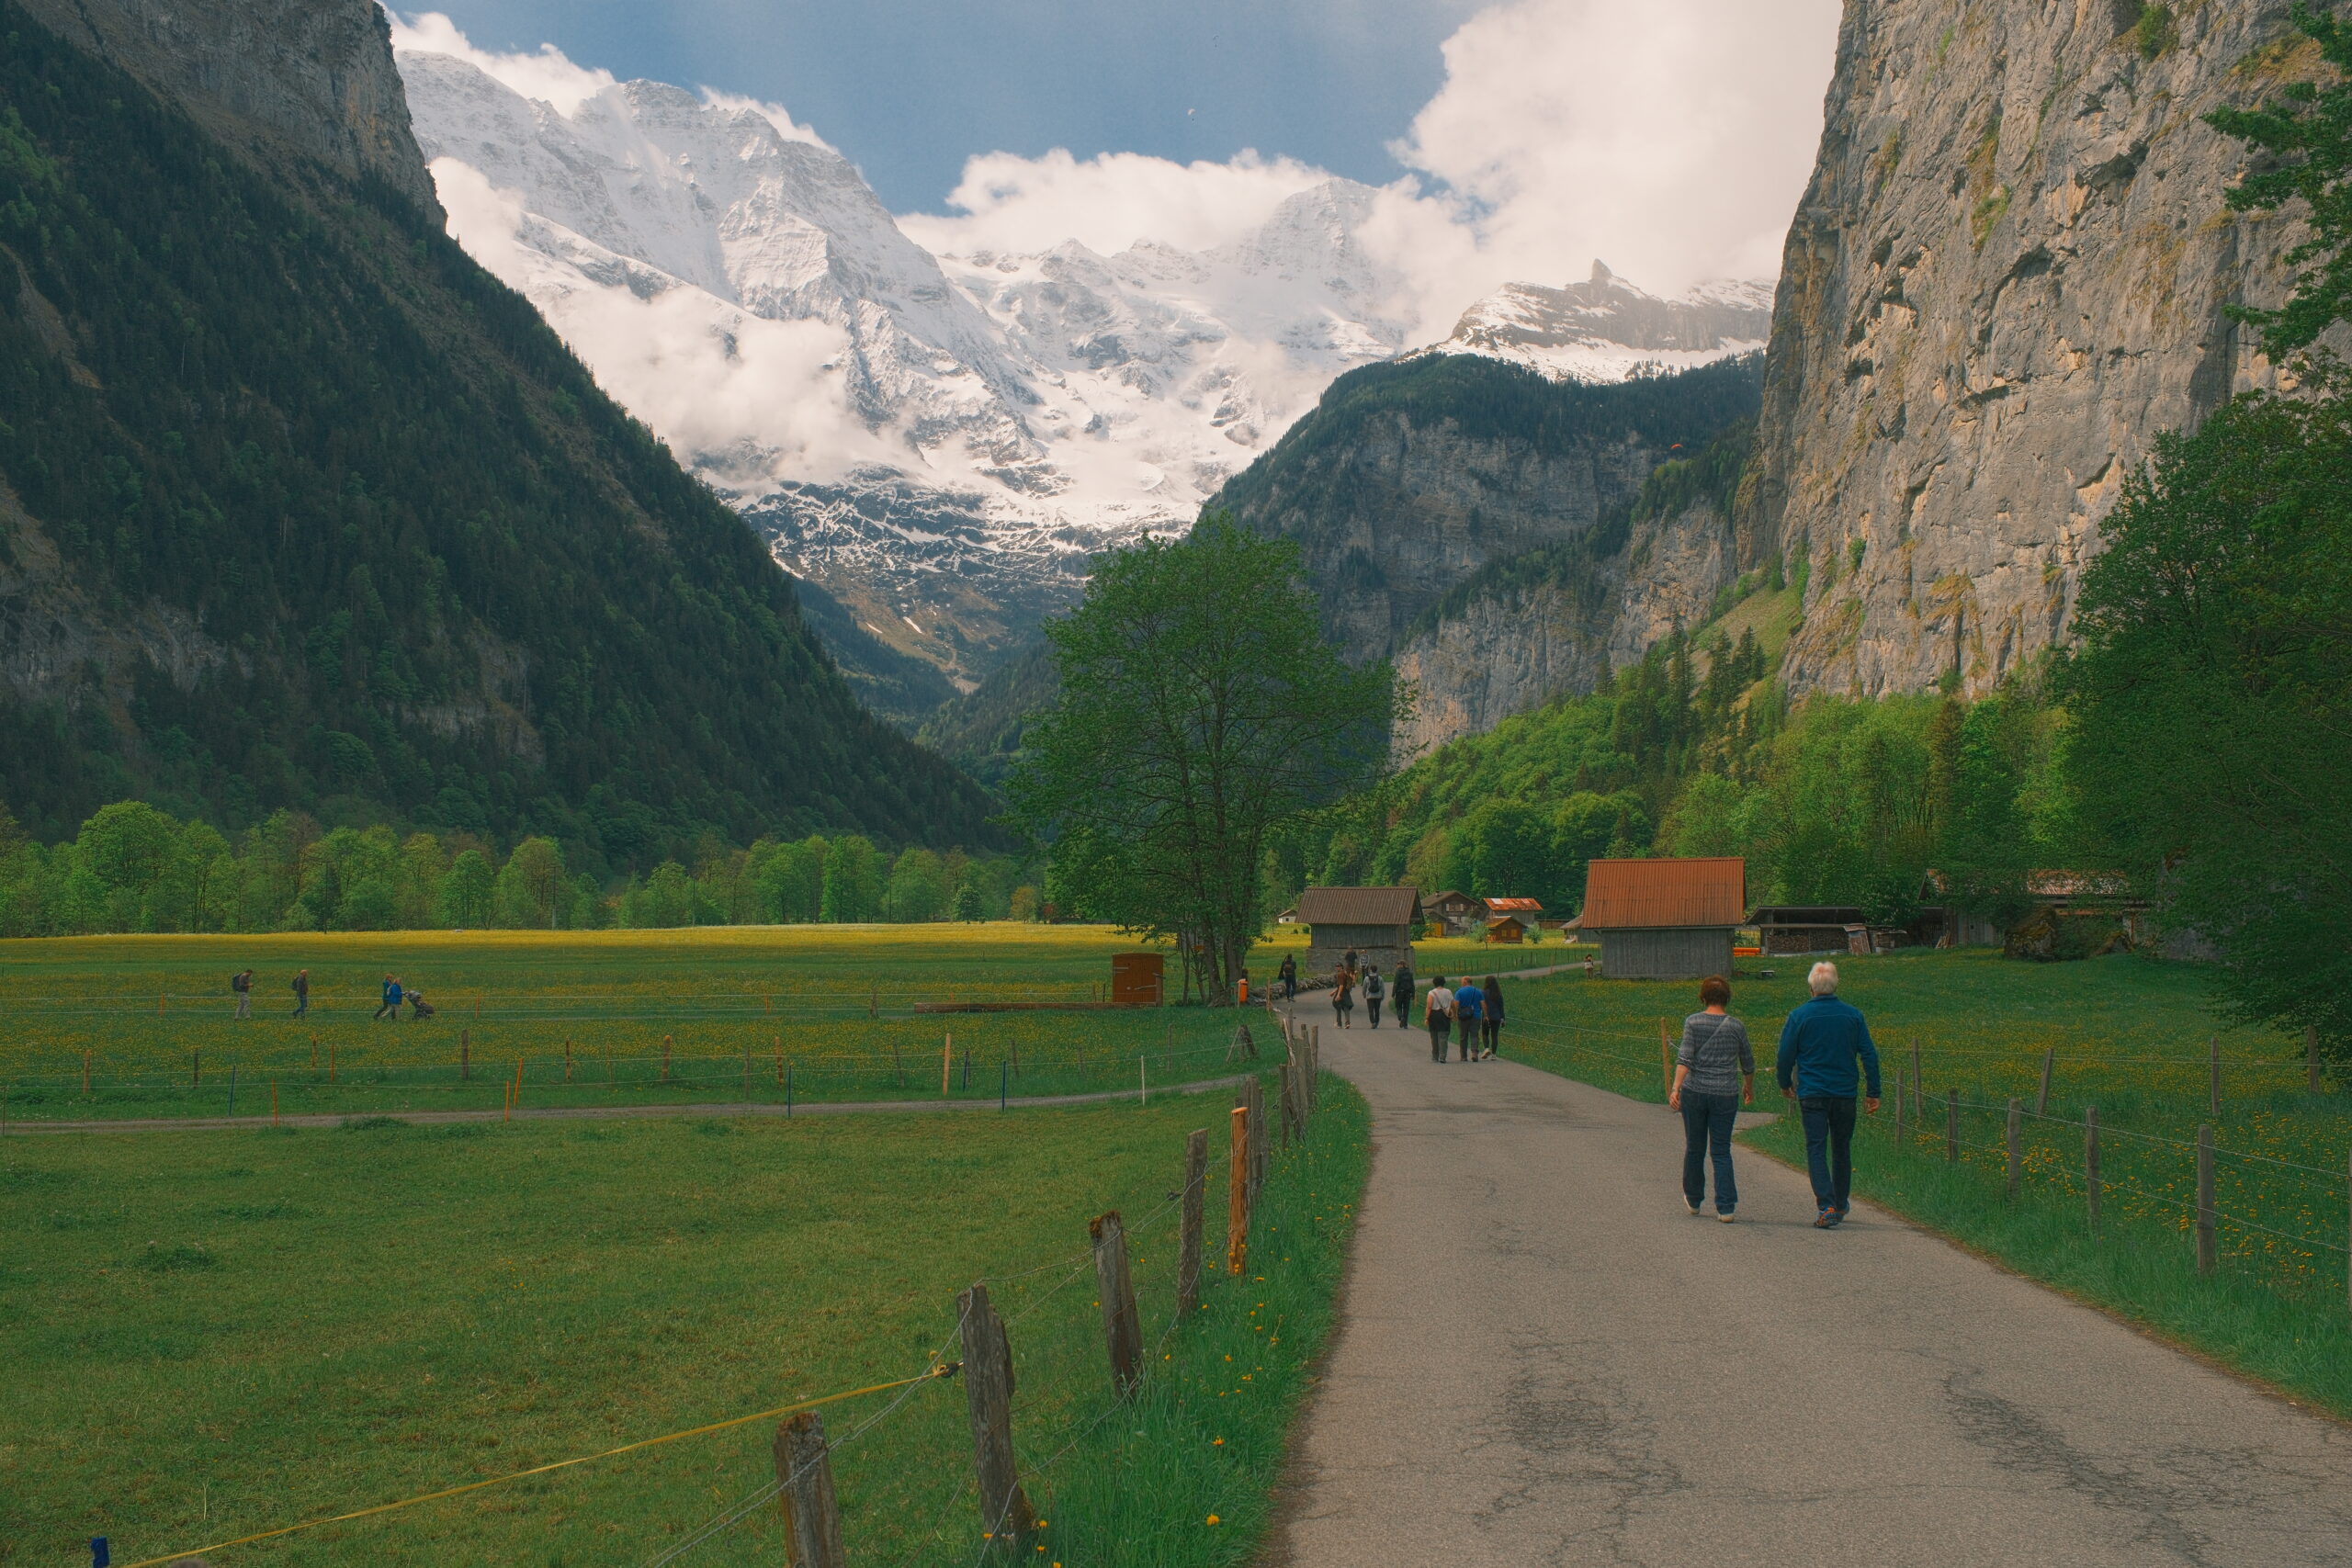
Mountain Reality is my more natural option.


It is the recipe I trust when I want the scene to remain recognizable rather than pushing it toward a very stylized look.
That makes it especially useful for:
- landscapes
- mountains
- travel
- greenery
- bright daylight
See my Mountain Reality Fujifilm recipe
How many Fujifilm recipes do you really need? I currently keep several different looks on my X-E5, but I still think knowing a few recipes well is more useful than filling every available custom slot. Read how I choose which recipes to keep
Why Cinematic Gold is currently my default
Of the recipes currently saved on the camera, Cinematic Gold is the one I start from most often.

That does not mean I think it is objectively the best Fujifilm recipe.
It simply fits what I currently enjoy photographing.
I like photographs with some warmth and atmosphere, particularly:
- streets
- travel details
- old buildings
- evening light
- everyday scenes
If the light becomes very bright or I want more realistic color, I can switch to Mountain Reality.
If I want something different, I have Cuban Negative or Solaris.
And if color is distracting me from the photograph, I can switch to Documentary Monochrome.
That is roughly how I think about my custom presets.
Not as a collection.
More like a small set of tools.
Why I use recipes instead of only film simulations
Fujifilm’s built-in film simulations are already good.
But a full recipe gives me more control over the character of the JPEG.
A recipe can combine the base simulation with things like:
- white balance
- WB shift
- highlight tone
- shadow tone
- color
- grain
- clarity
- Color Chrome settings
That is why two photographs using the same base film simulation can still look very different.
I explain that distinction in much more detail here:
Fujifilm Film Simulations vs Recipes: What’s the Difference?
My setup is deliberately boring
A lot of camera setup guides contain dozens of settings.
Mine is much simpler.
I essentially want:
Aperture Priority
Auto ISO
Auto shutter speed
AF-C
Wide/Tracking
Average Metering
Eye Detection
IBIS
Recipe selected
Then I adjust two things while shooting:
aperture and exposure compensation.
And occasionally the recipe.
That is about it.
The camera handles most of the technical decisions while I concentrate on:
- where I stand
- what is in the frame
- the light
- timing
- composition
That is exactly how I want it.
Would I recommend these X-E5 settings to everyone?
No.
Someone photographing sports will need very different autofocus and shutter-speed settings.
A night photographer may want a much higher maximum Auto ISO.
Someone shooting only RAW may not care about recipes at all.
And someone using primes may configure the camera around a completely different style of photography.
But for travel, everyday photography and street photography, this setup gives me what I want.
It is quick.
It is predictable.
And most importantly, it means I spend very little time inside the menu.
Using recipes on another Fujifilm camera? The exact JPEG controls available depend on the camera generation. I have a separate guide explaining which recent Fujifilm cameras can use different recipe settings. Check Fujifilm recipe compatibility
My current Fujifilm X-E5 workflow
When I leave with the camera, my workflow is basically:
- Choose the recipe that fits the light or mood.
- Leave the camera in Aperture Priority.
- Choose my aperture.
- Let Auto ISO and shutter speed handle exposure.
- Adjust exposure compensation when necessary.
- Let AF-C and Wide/Tracking handle focus.
- Take the photo.
- Use the JPEG unless there is a reason to open the RAW file.
That is the entire system.
And I think that simplicity is one of the biggest reasons I enjoy using the X-E5.
Final thoughts
The settings I use on my Fujifilm X-E5 are not optimized around maximum technical control.
They are optimized around not having to think about the camera very much.
Fine JPEG + RAW gives me a finished-looking image and a backup.
Aperture Priority keeps the part of exposure I care about under my control.
Auto ISO and automatic shutter speed take care of the rest.
AF-C, Wide/Tracking and Eye Detection mean focusing rarely needs much attention.
And the custom recipe slots let me change the character of the image without editing every photograph later.
Right now, that is exactly what I want from this camera.
A small setup that I can take almost anywhere, select a recipe, and start photographing.




Frequently asked questions